How to Create an NPS Form
An NPS form is a pop-up that collects feedback from website visitors. NPS forms give companies insights into how customers perceive their products and services and help identify areas for improvement.
Let's take a look at how to create and configure NPS forms.
Create an NPS Pop-up
Go to your project, and click Add pop-up.

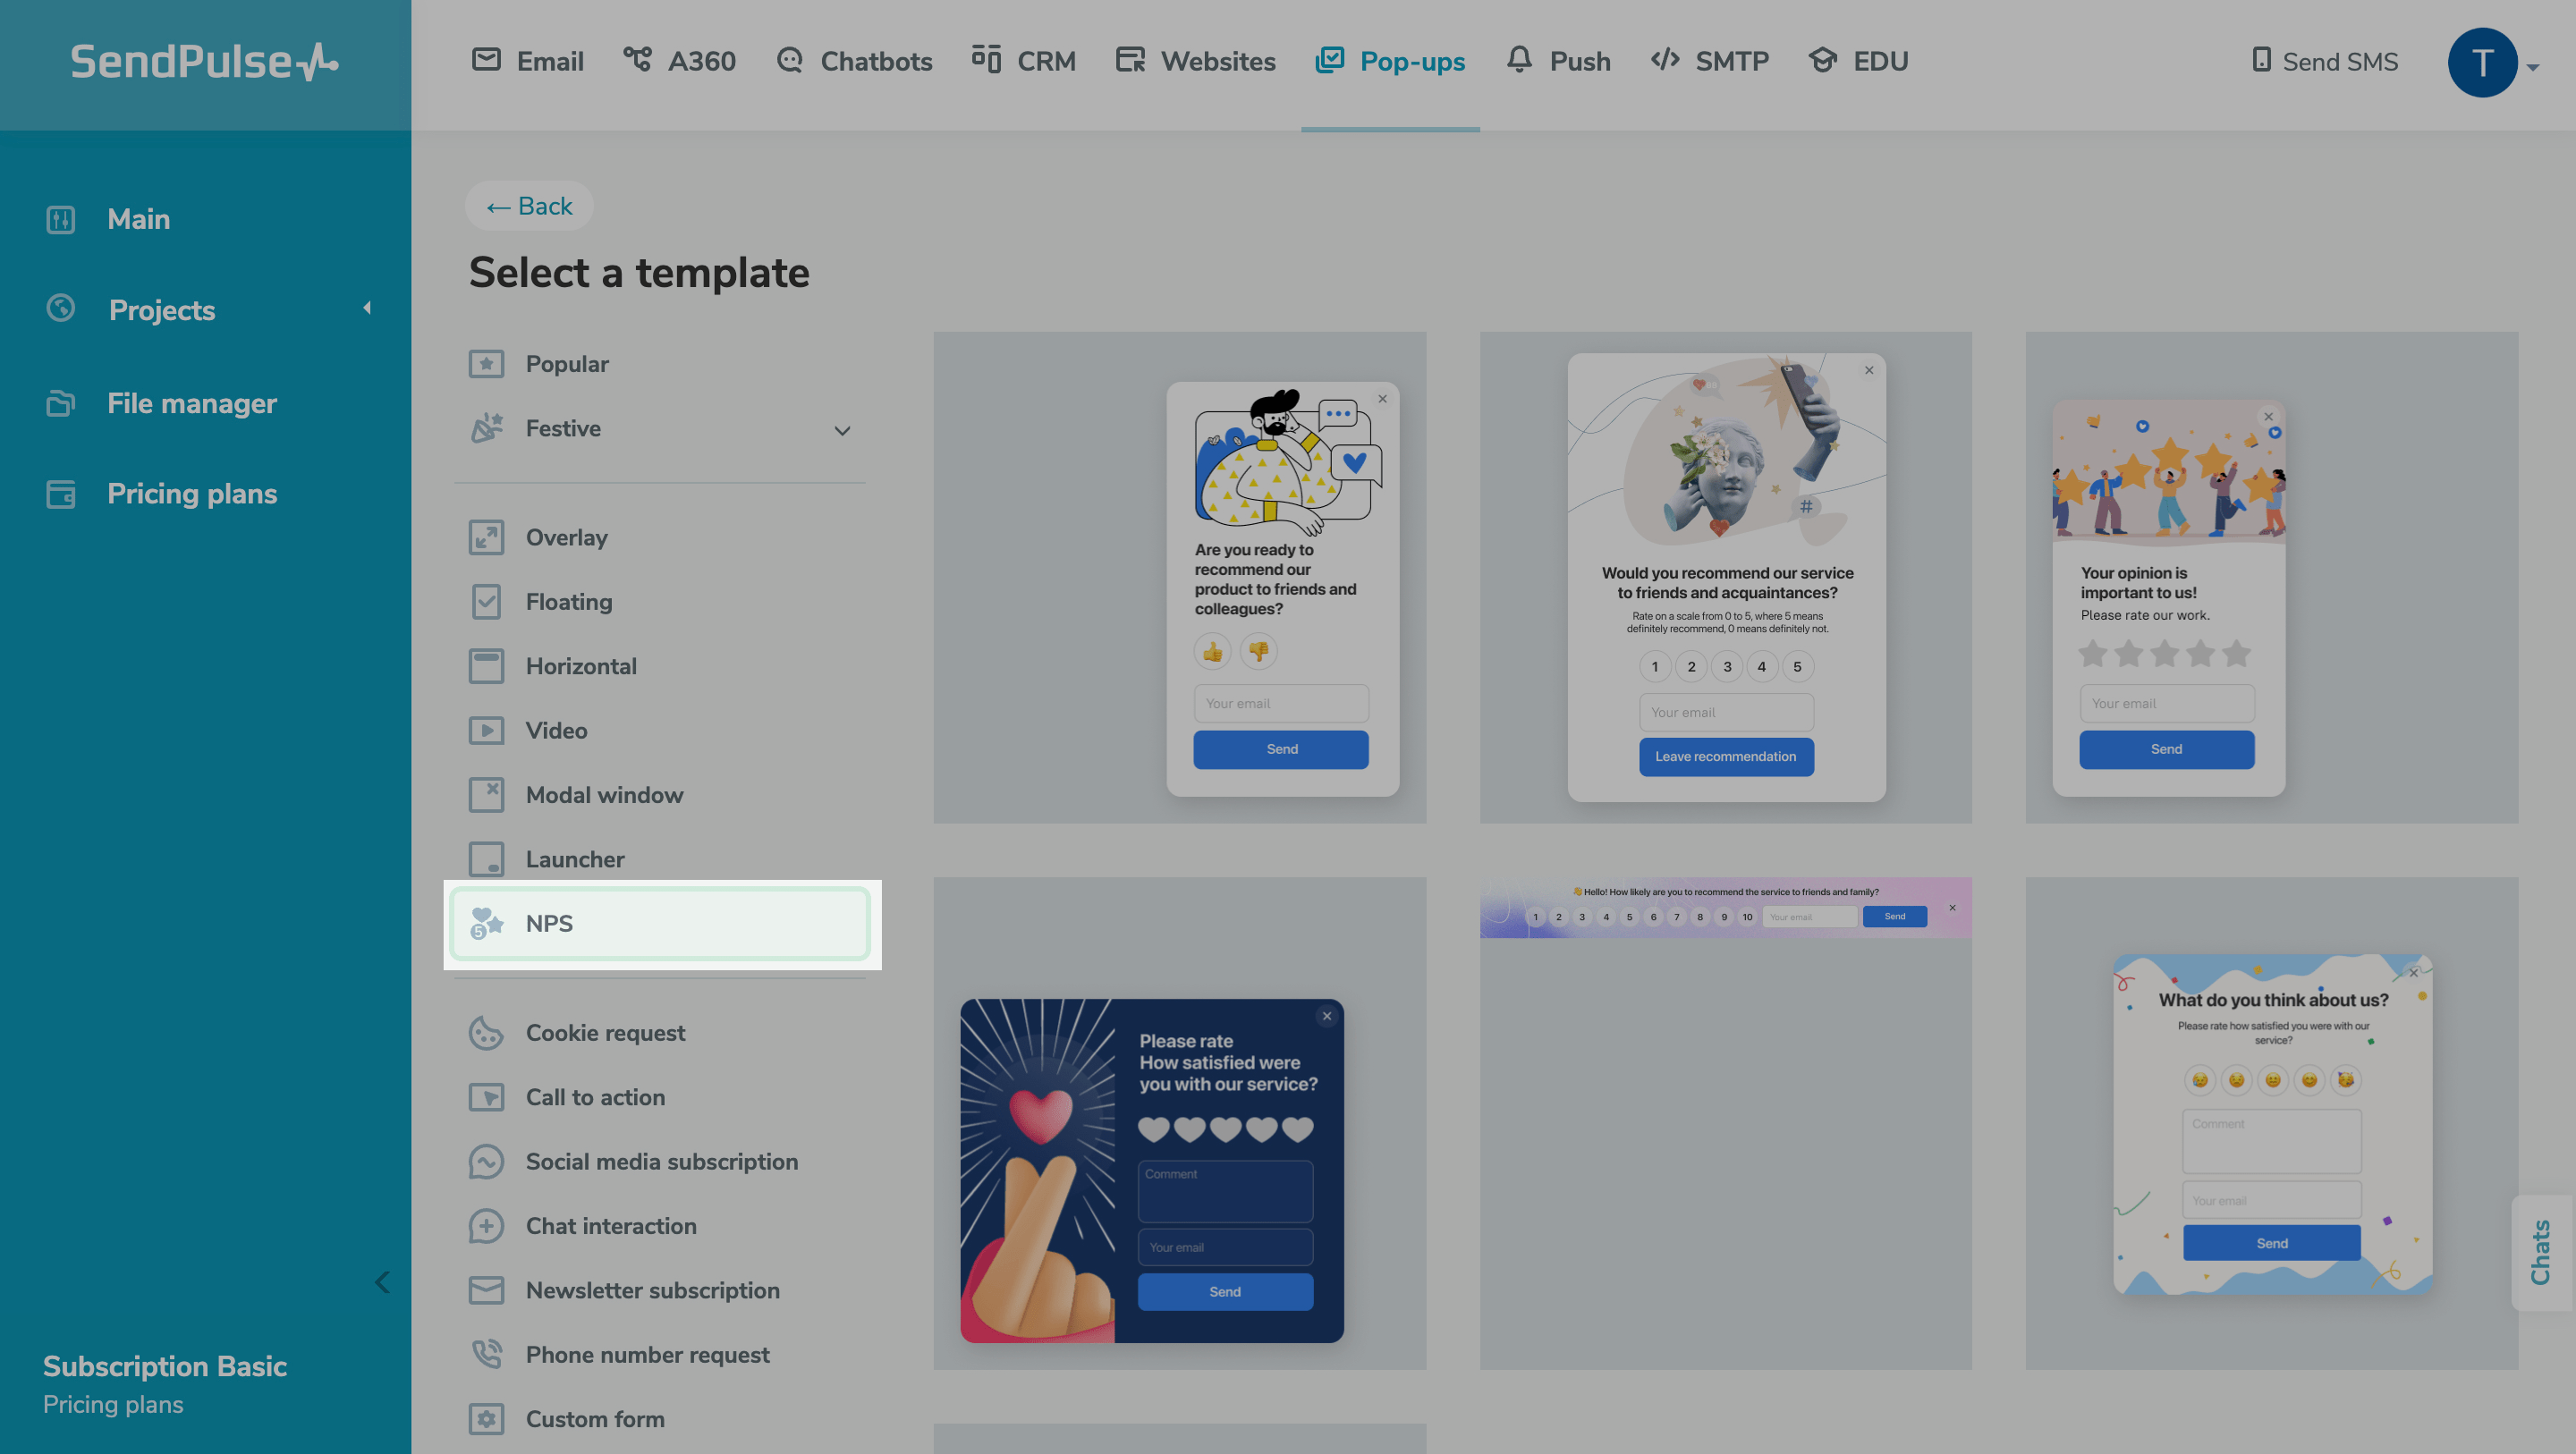
Select the "NPS" pop-up type, and choose a template.
Read also: How to Create a Smart Pop-up.
Customize the Pop-up Appearance
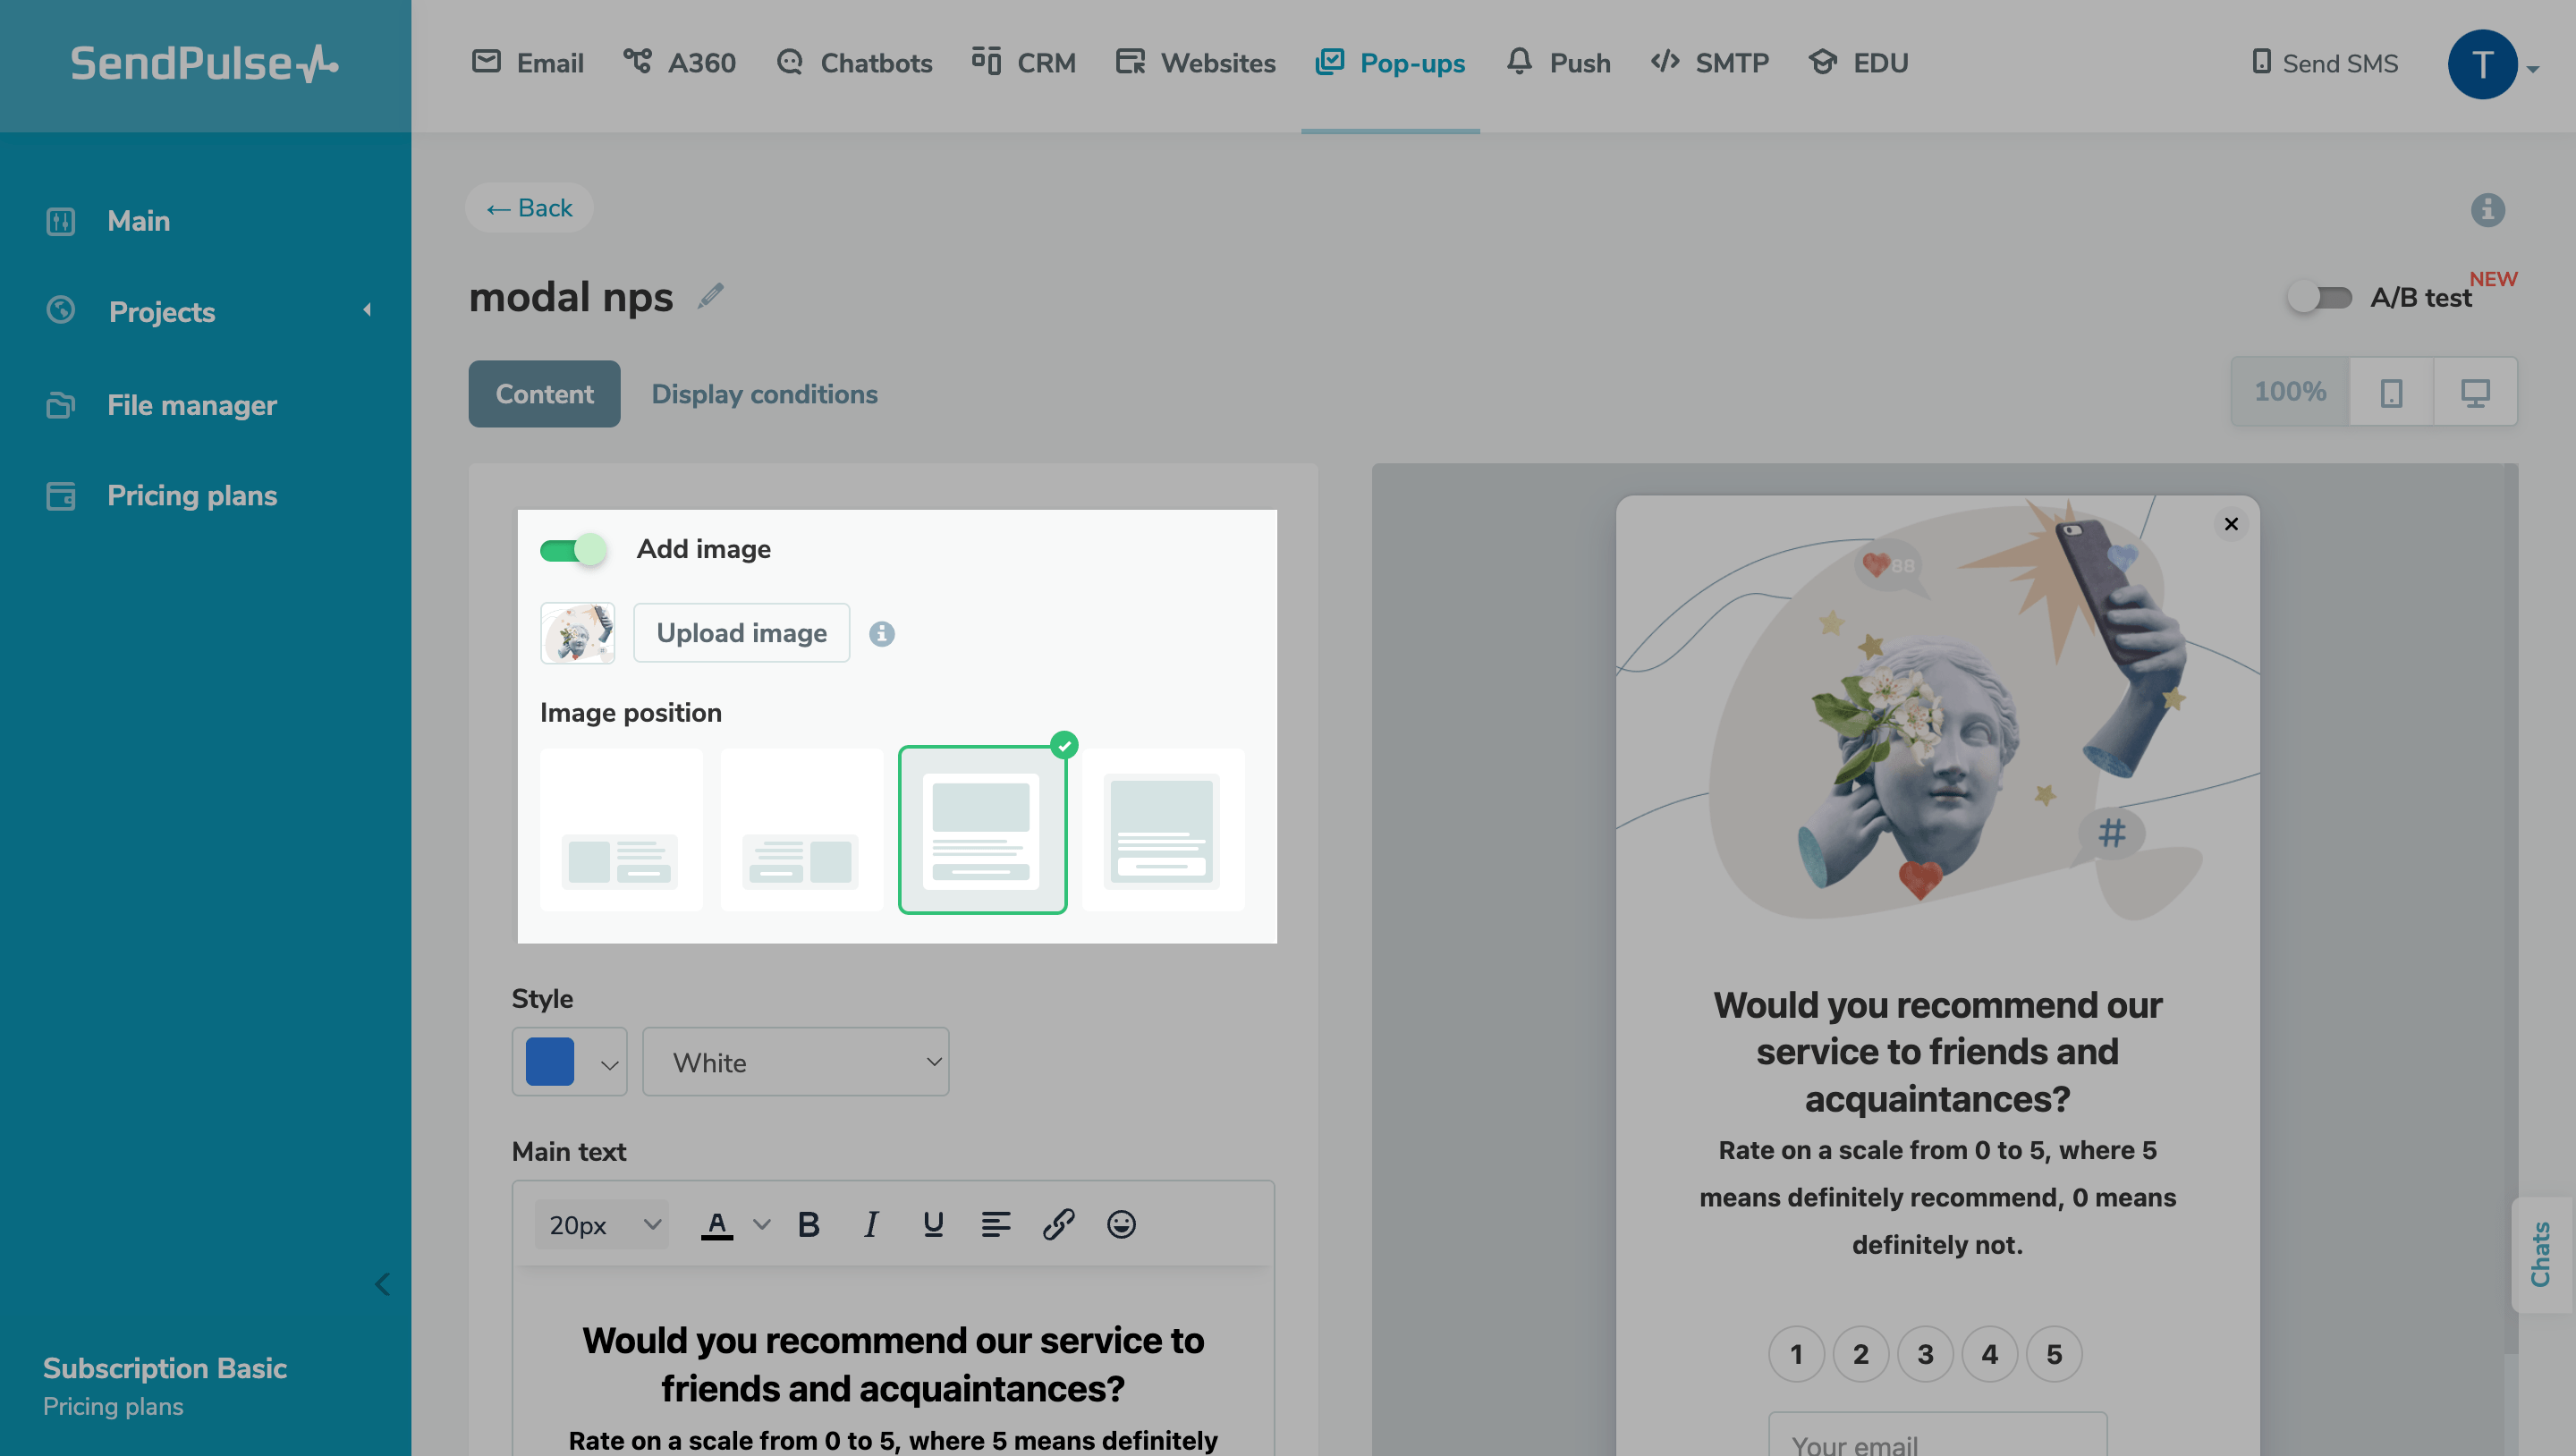
You can use the default image or upload your own. To do this, turn on the "Add image" toggle, and select an image from the file manager.
You can add a GIF, JPG, JPEG, or PNG file that’s up to 5 MB in size. Your uploaded image will be automatically adjusted to your selected pop-up size.
Select your image position.
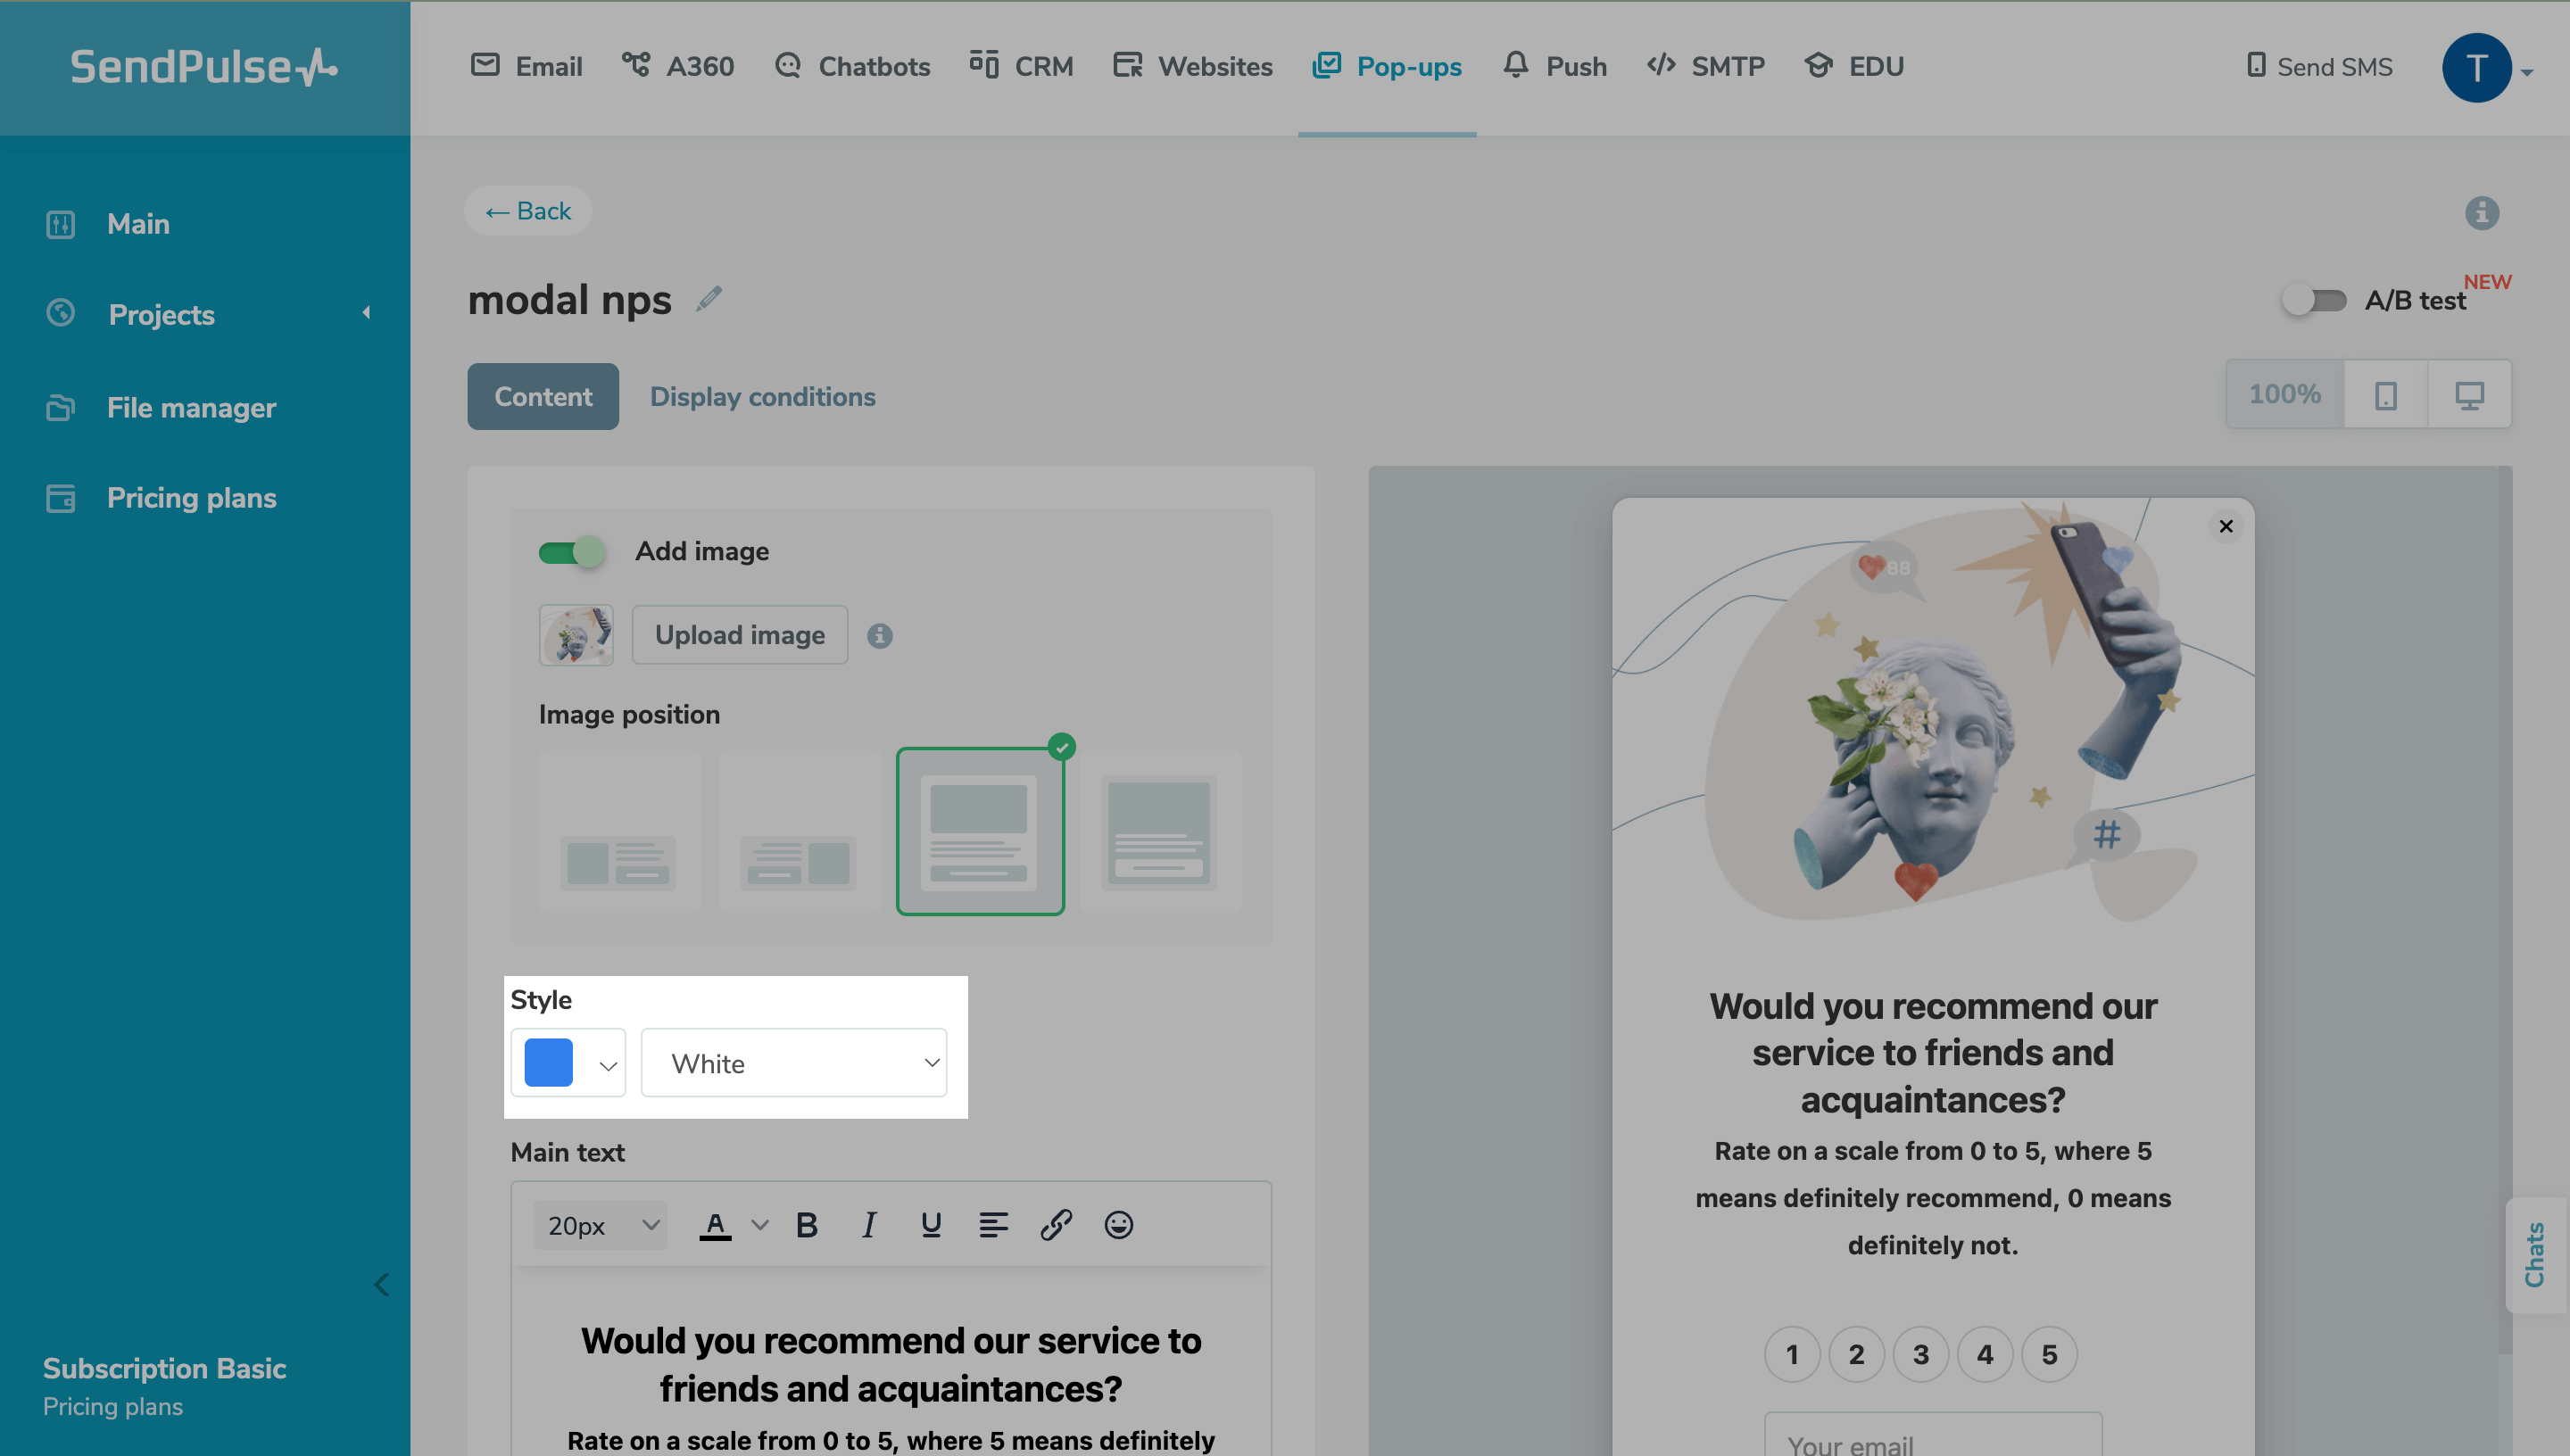
You can customize your pop-up appearance in the "Style" field. Select a button color and form color scheme.
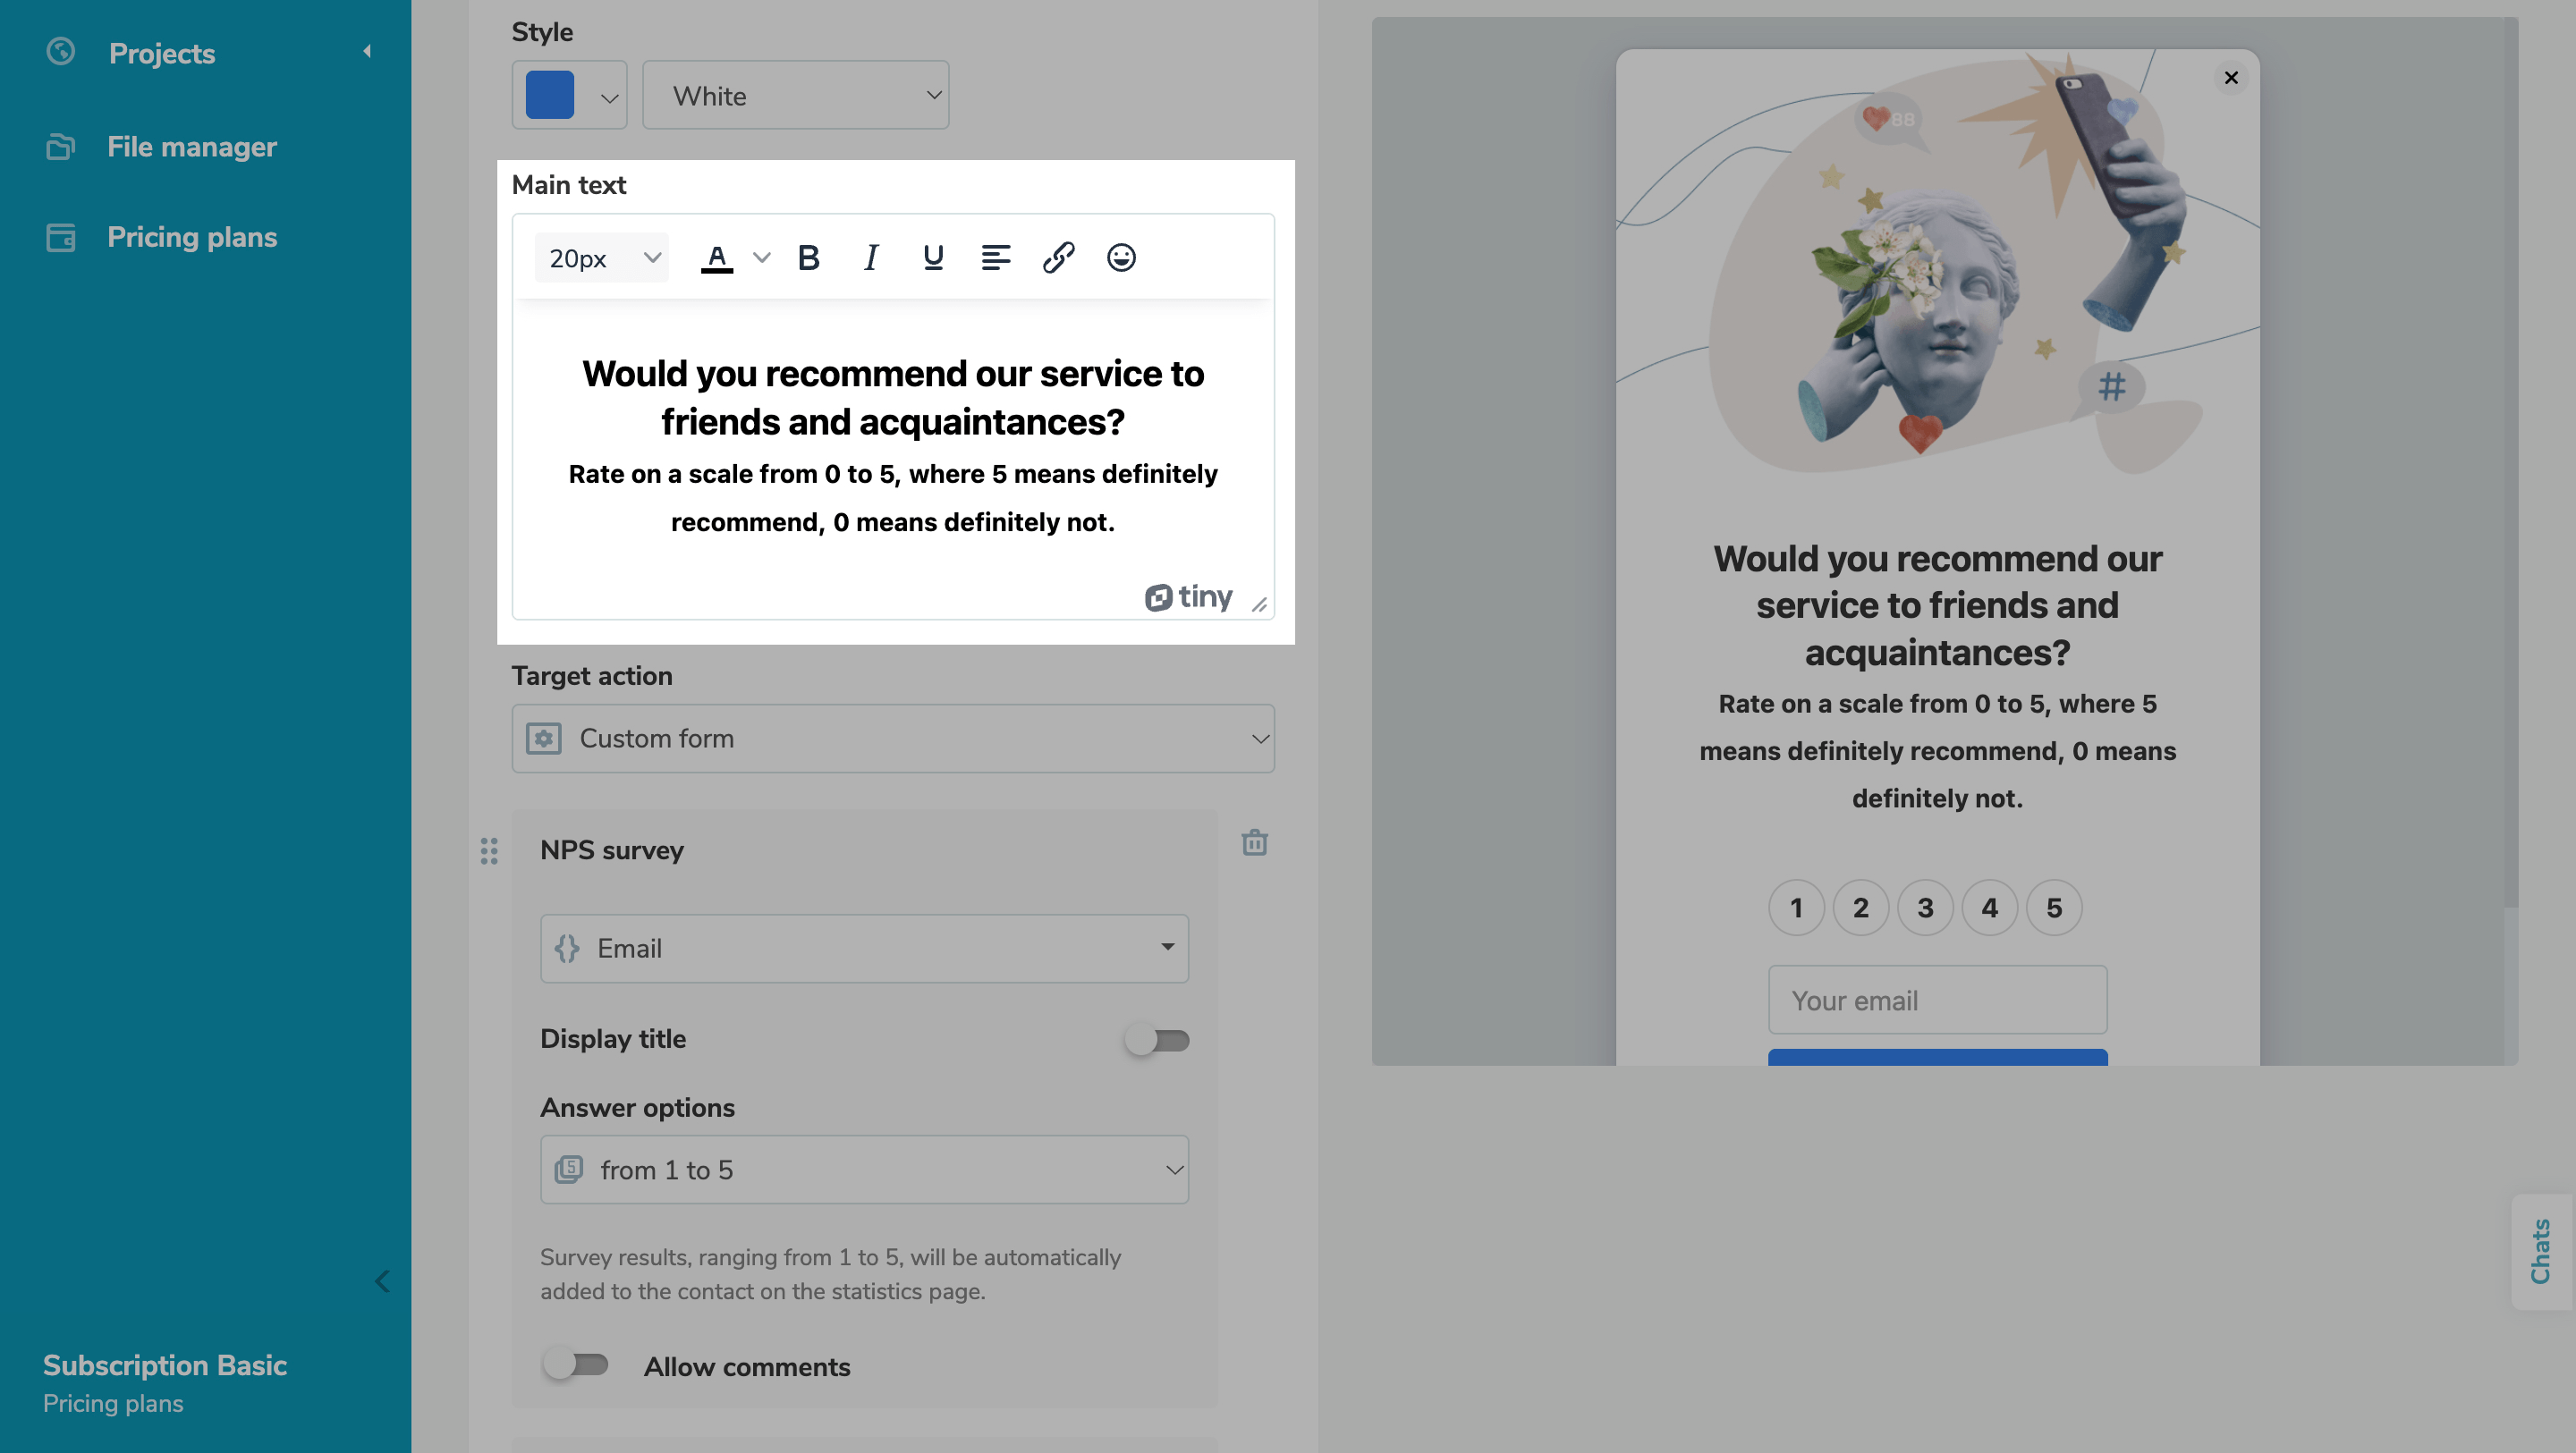
Enter up to 3,000 characters as your body text, and format it. You can also add links, emoji, emphasis, color, variables, and alignment to your pop-up.
Configure Your Target Action
Select a Variable
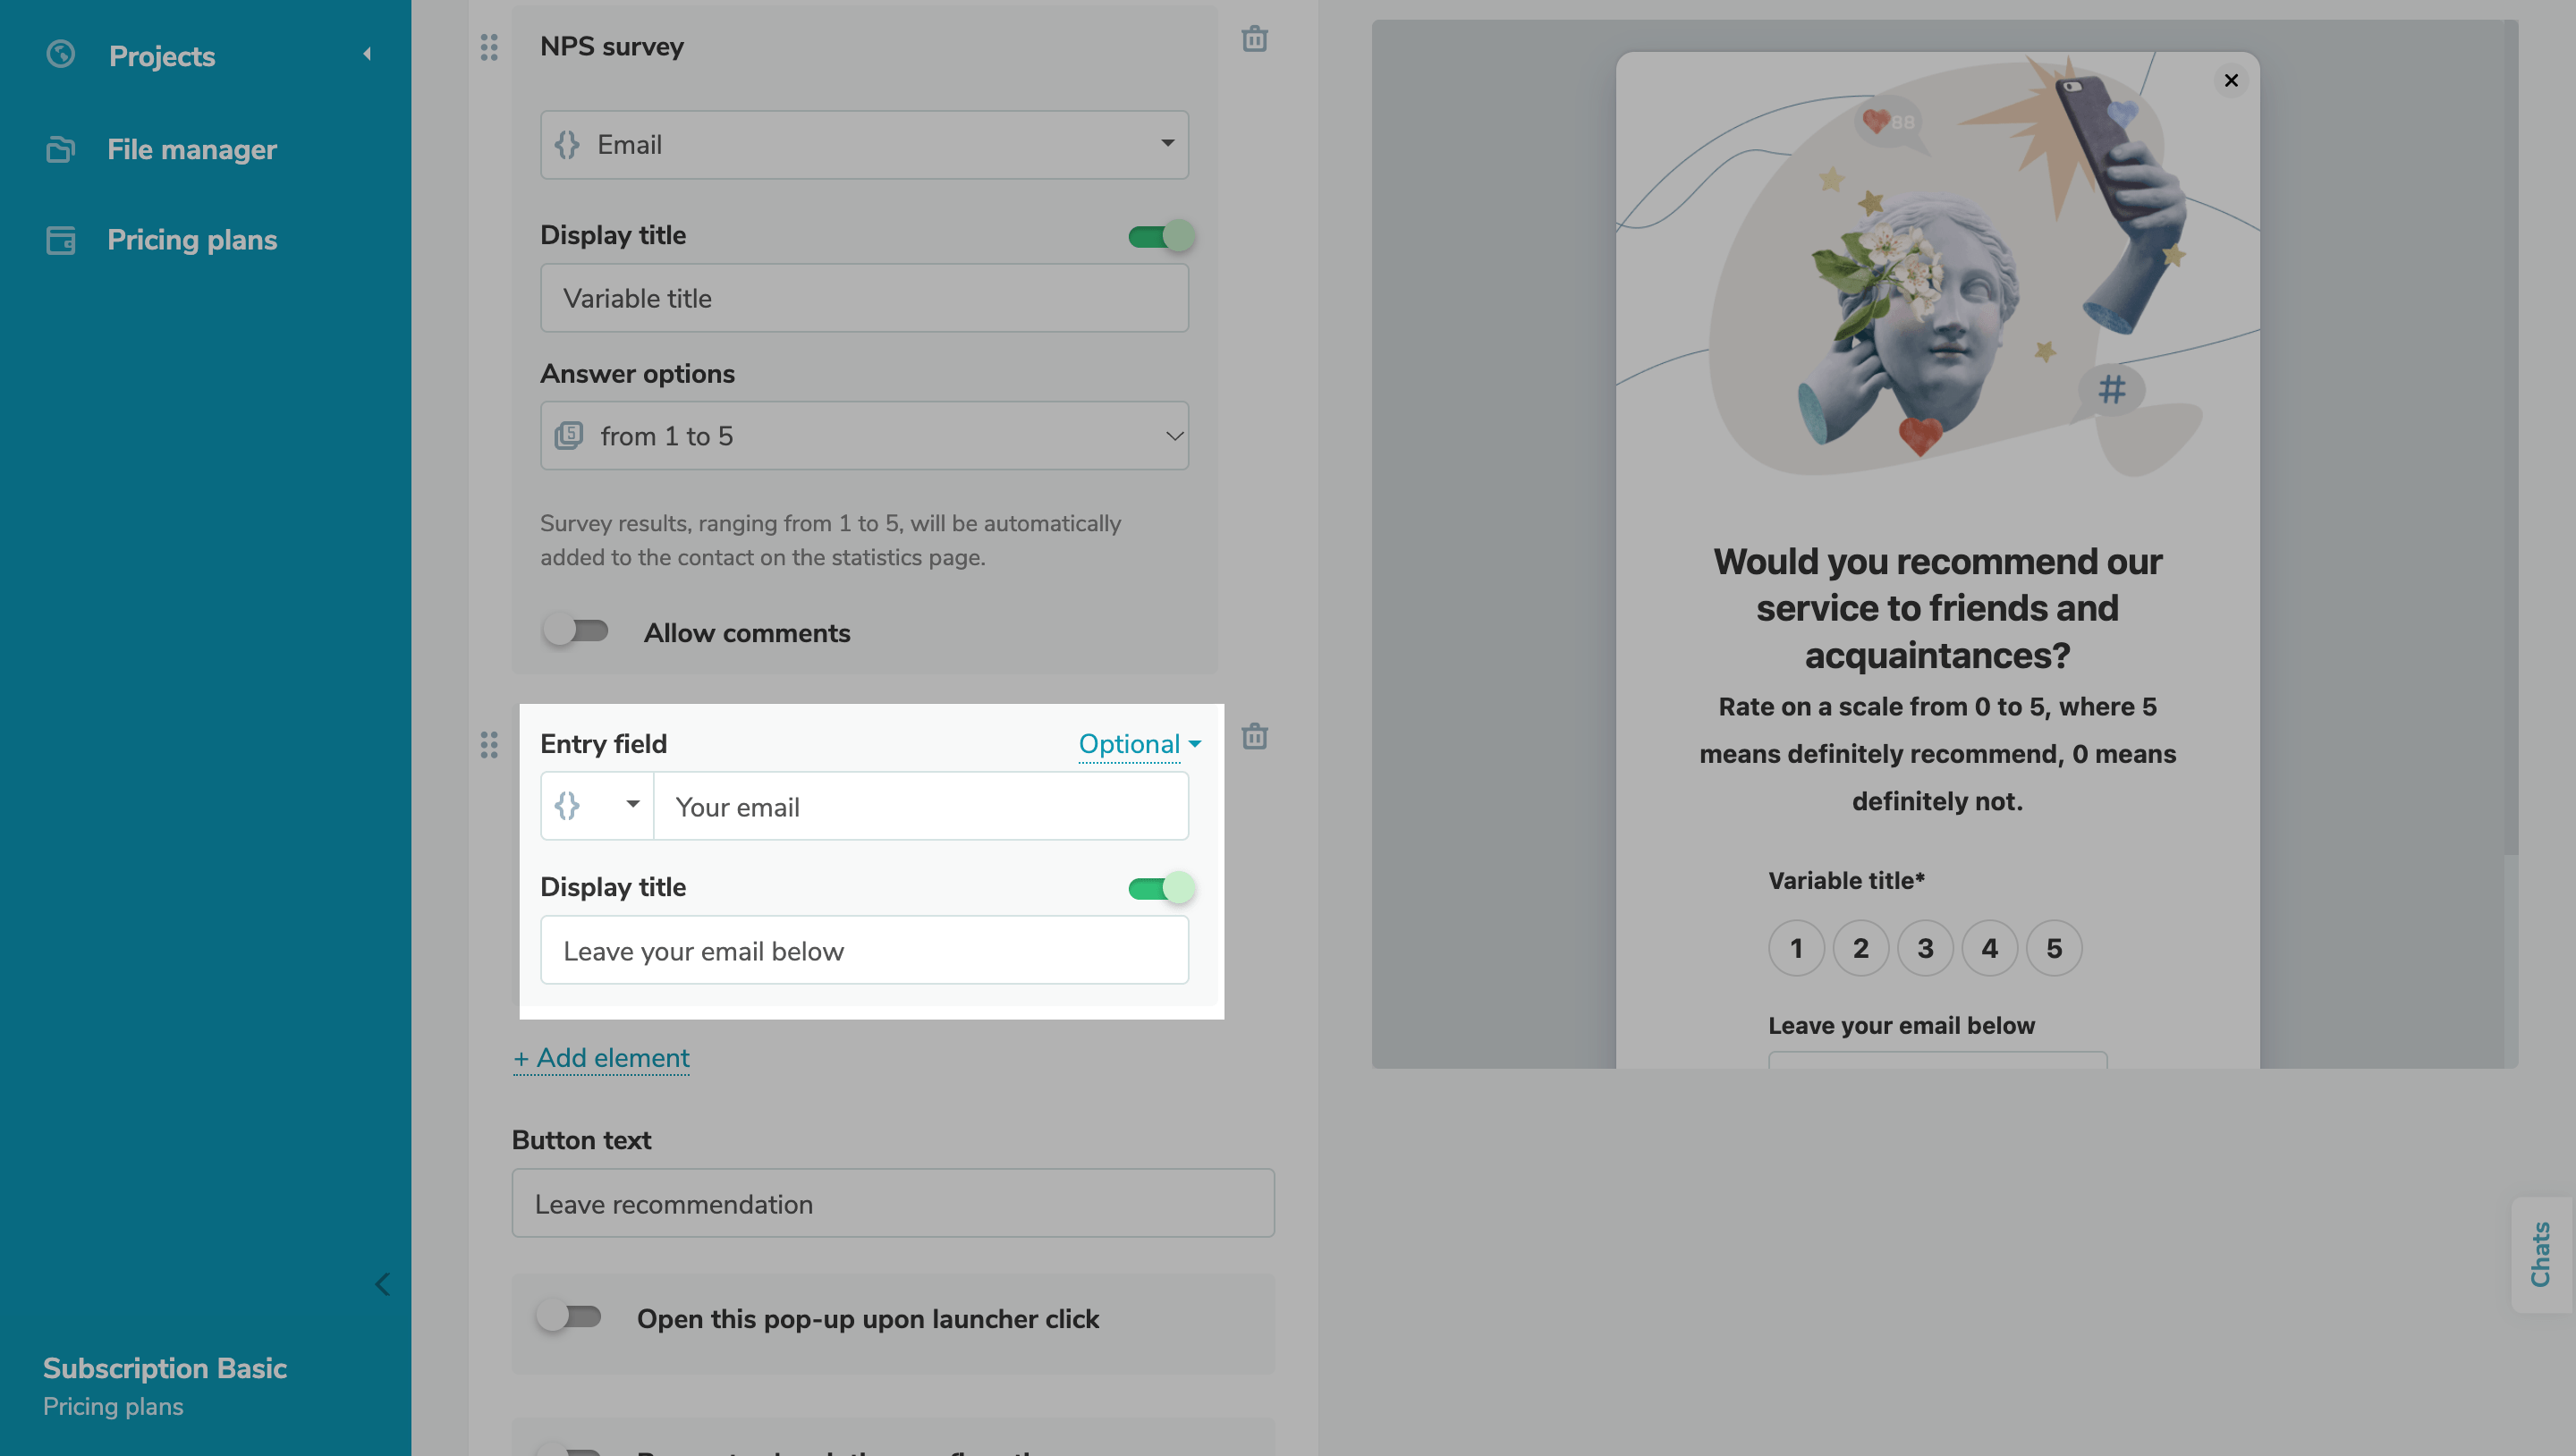
By default, your NPS form’s target action is set to ”Custom form,” and the “NPS survey” element is also added to it. Create a variable to store user feedback values.

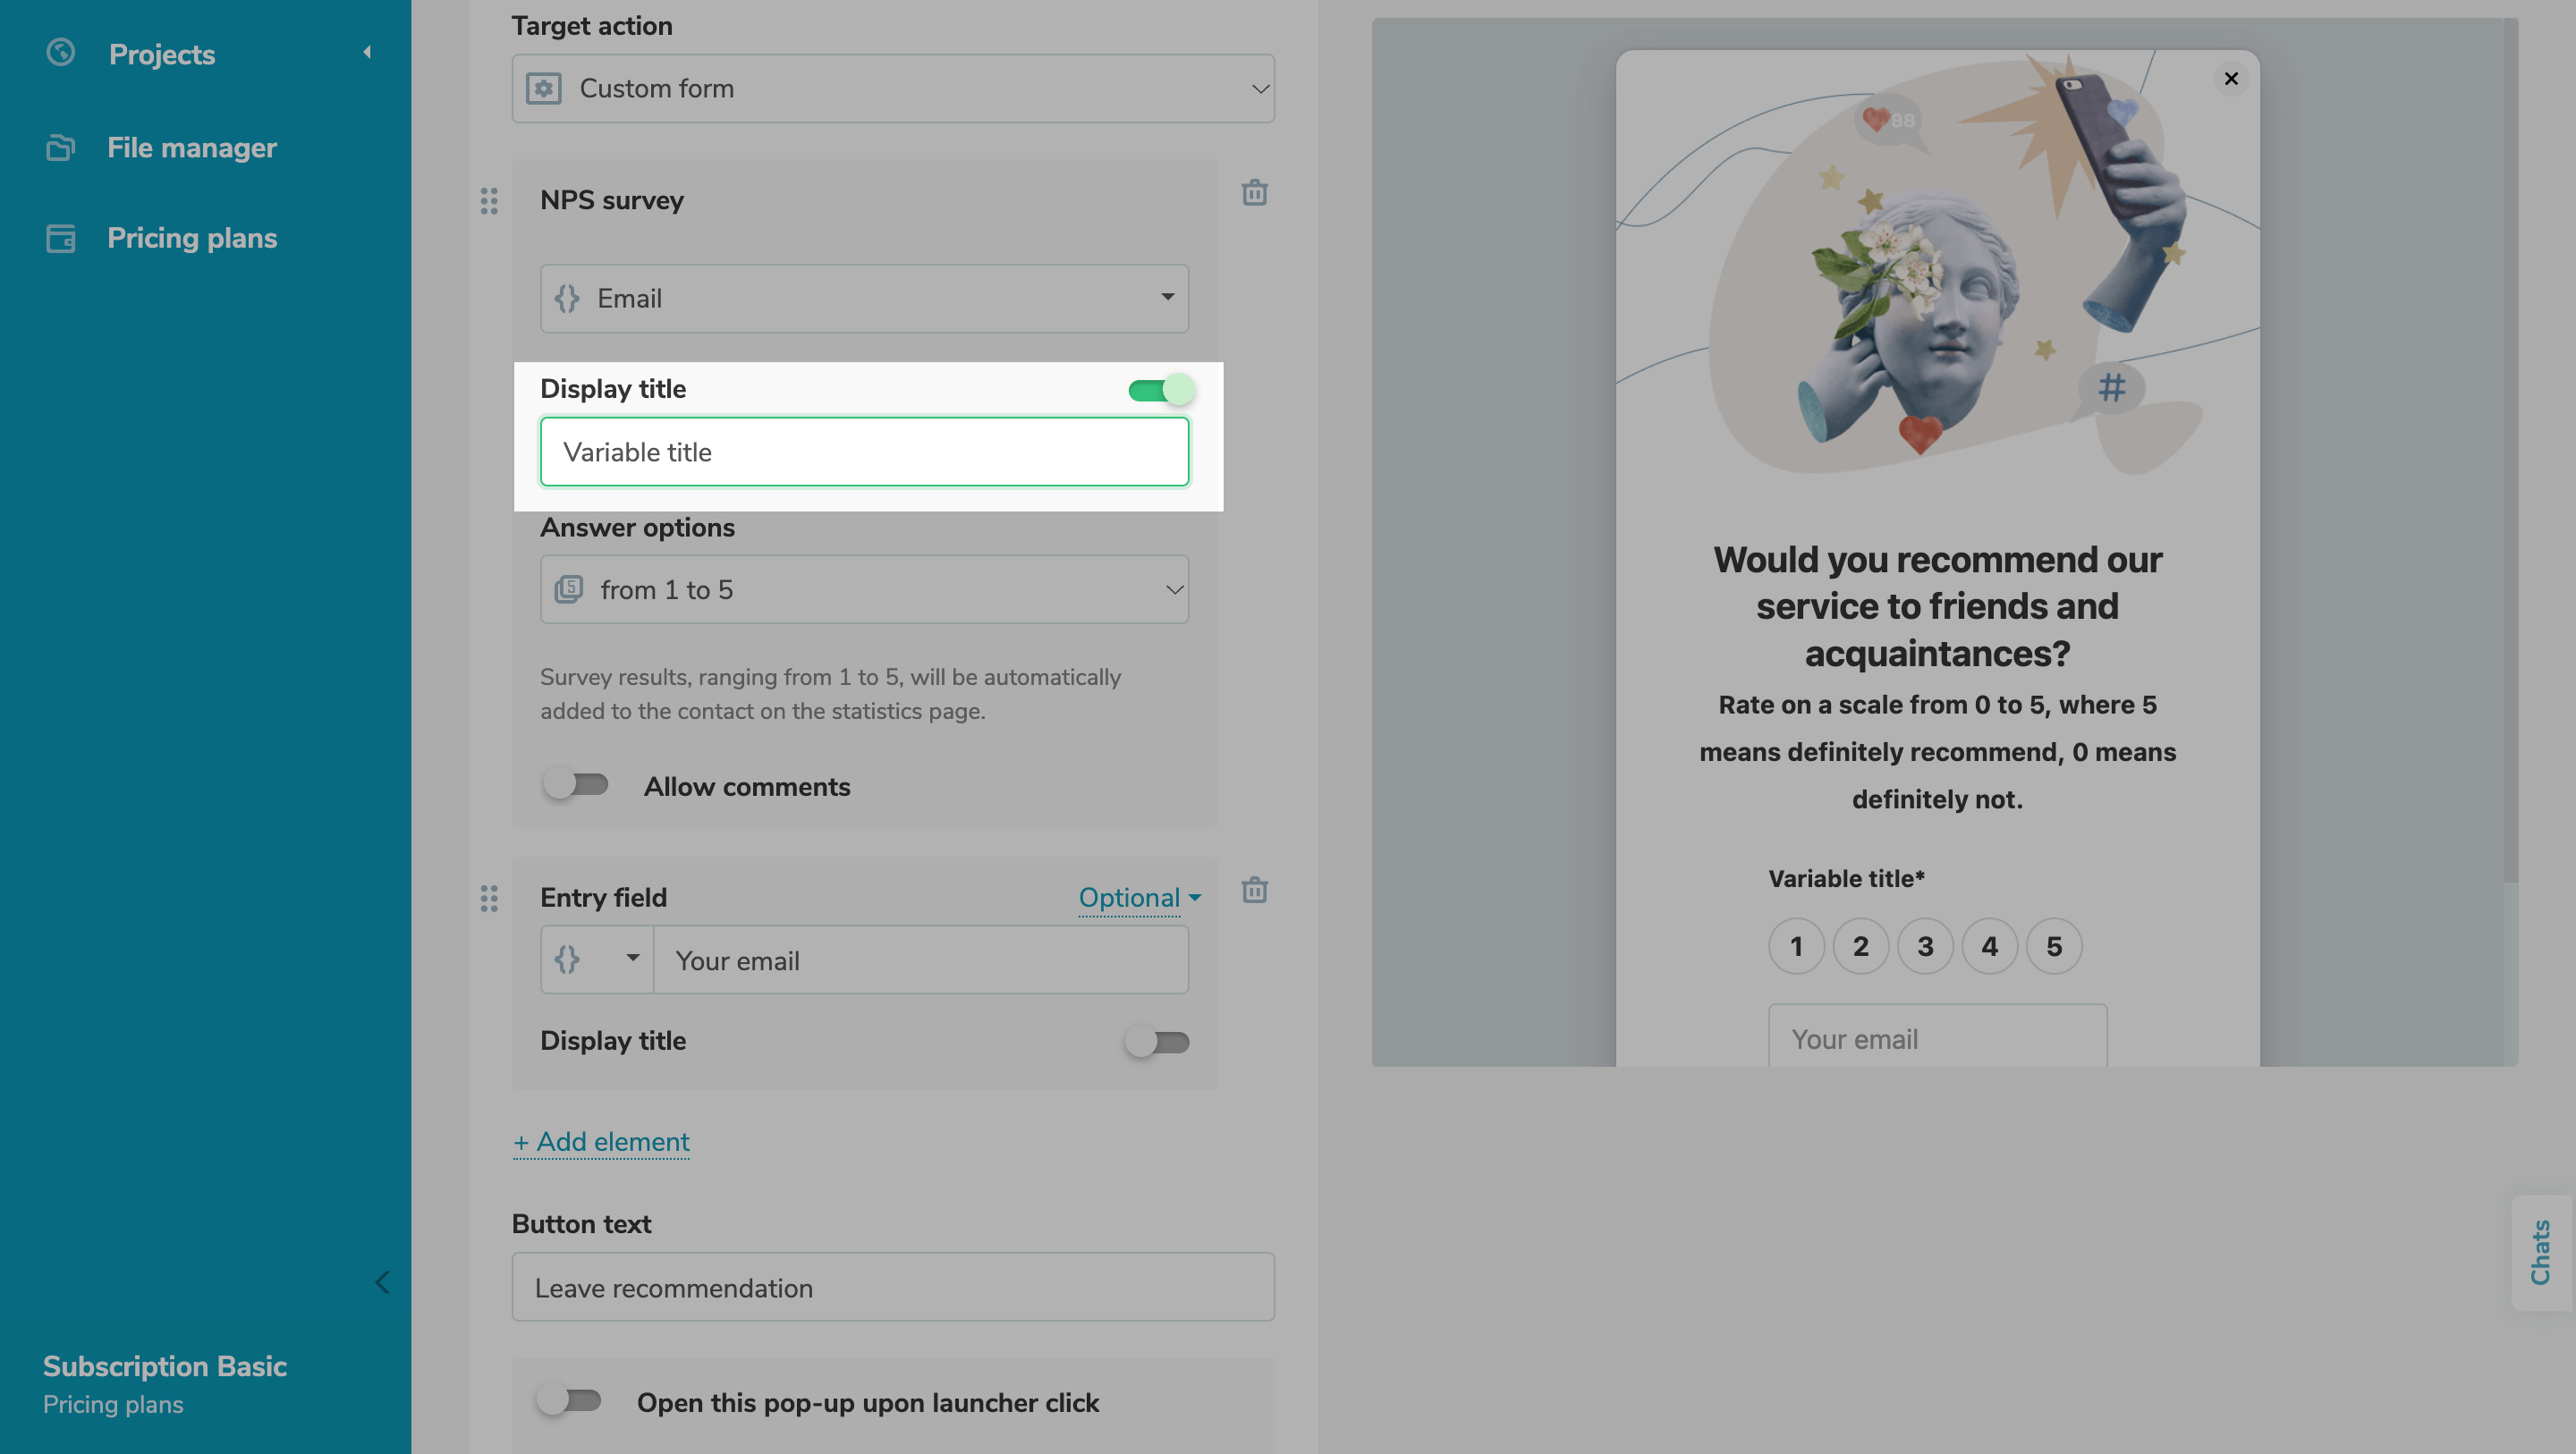
To show your variable title in the survey, turn on the "Display title" toggle, and enter your variable title.
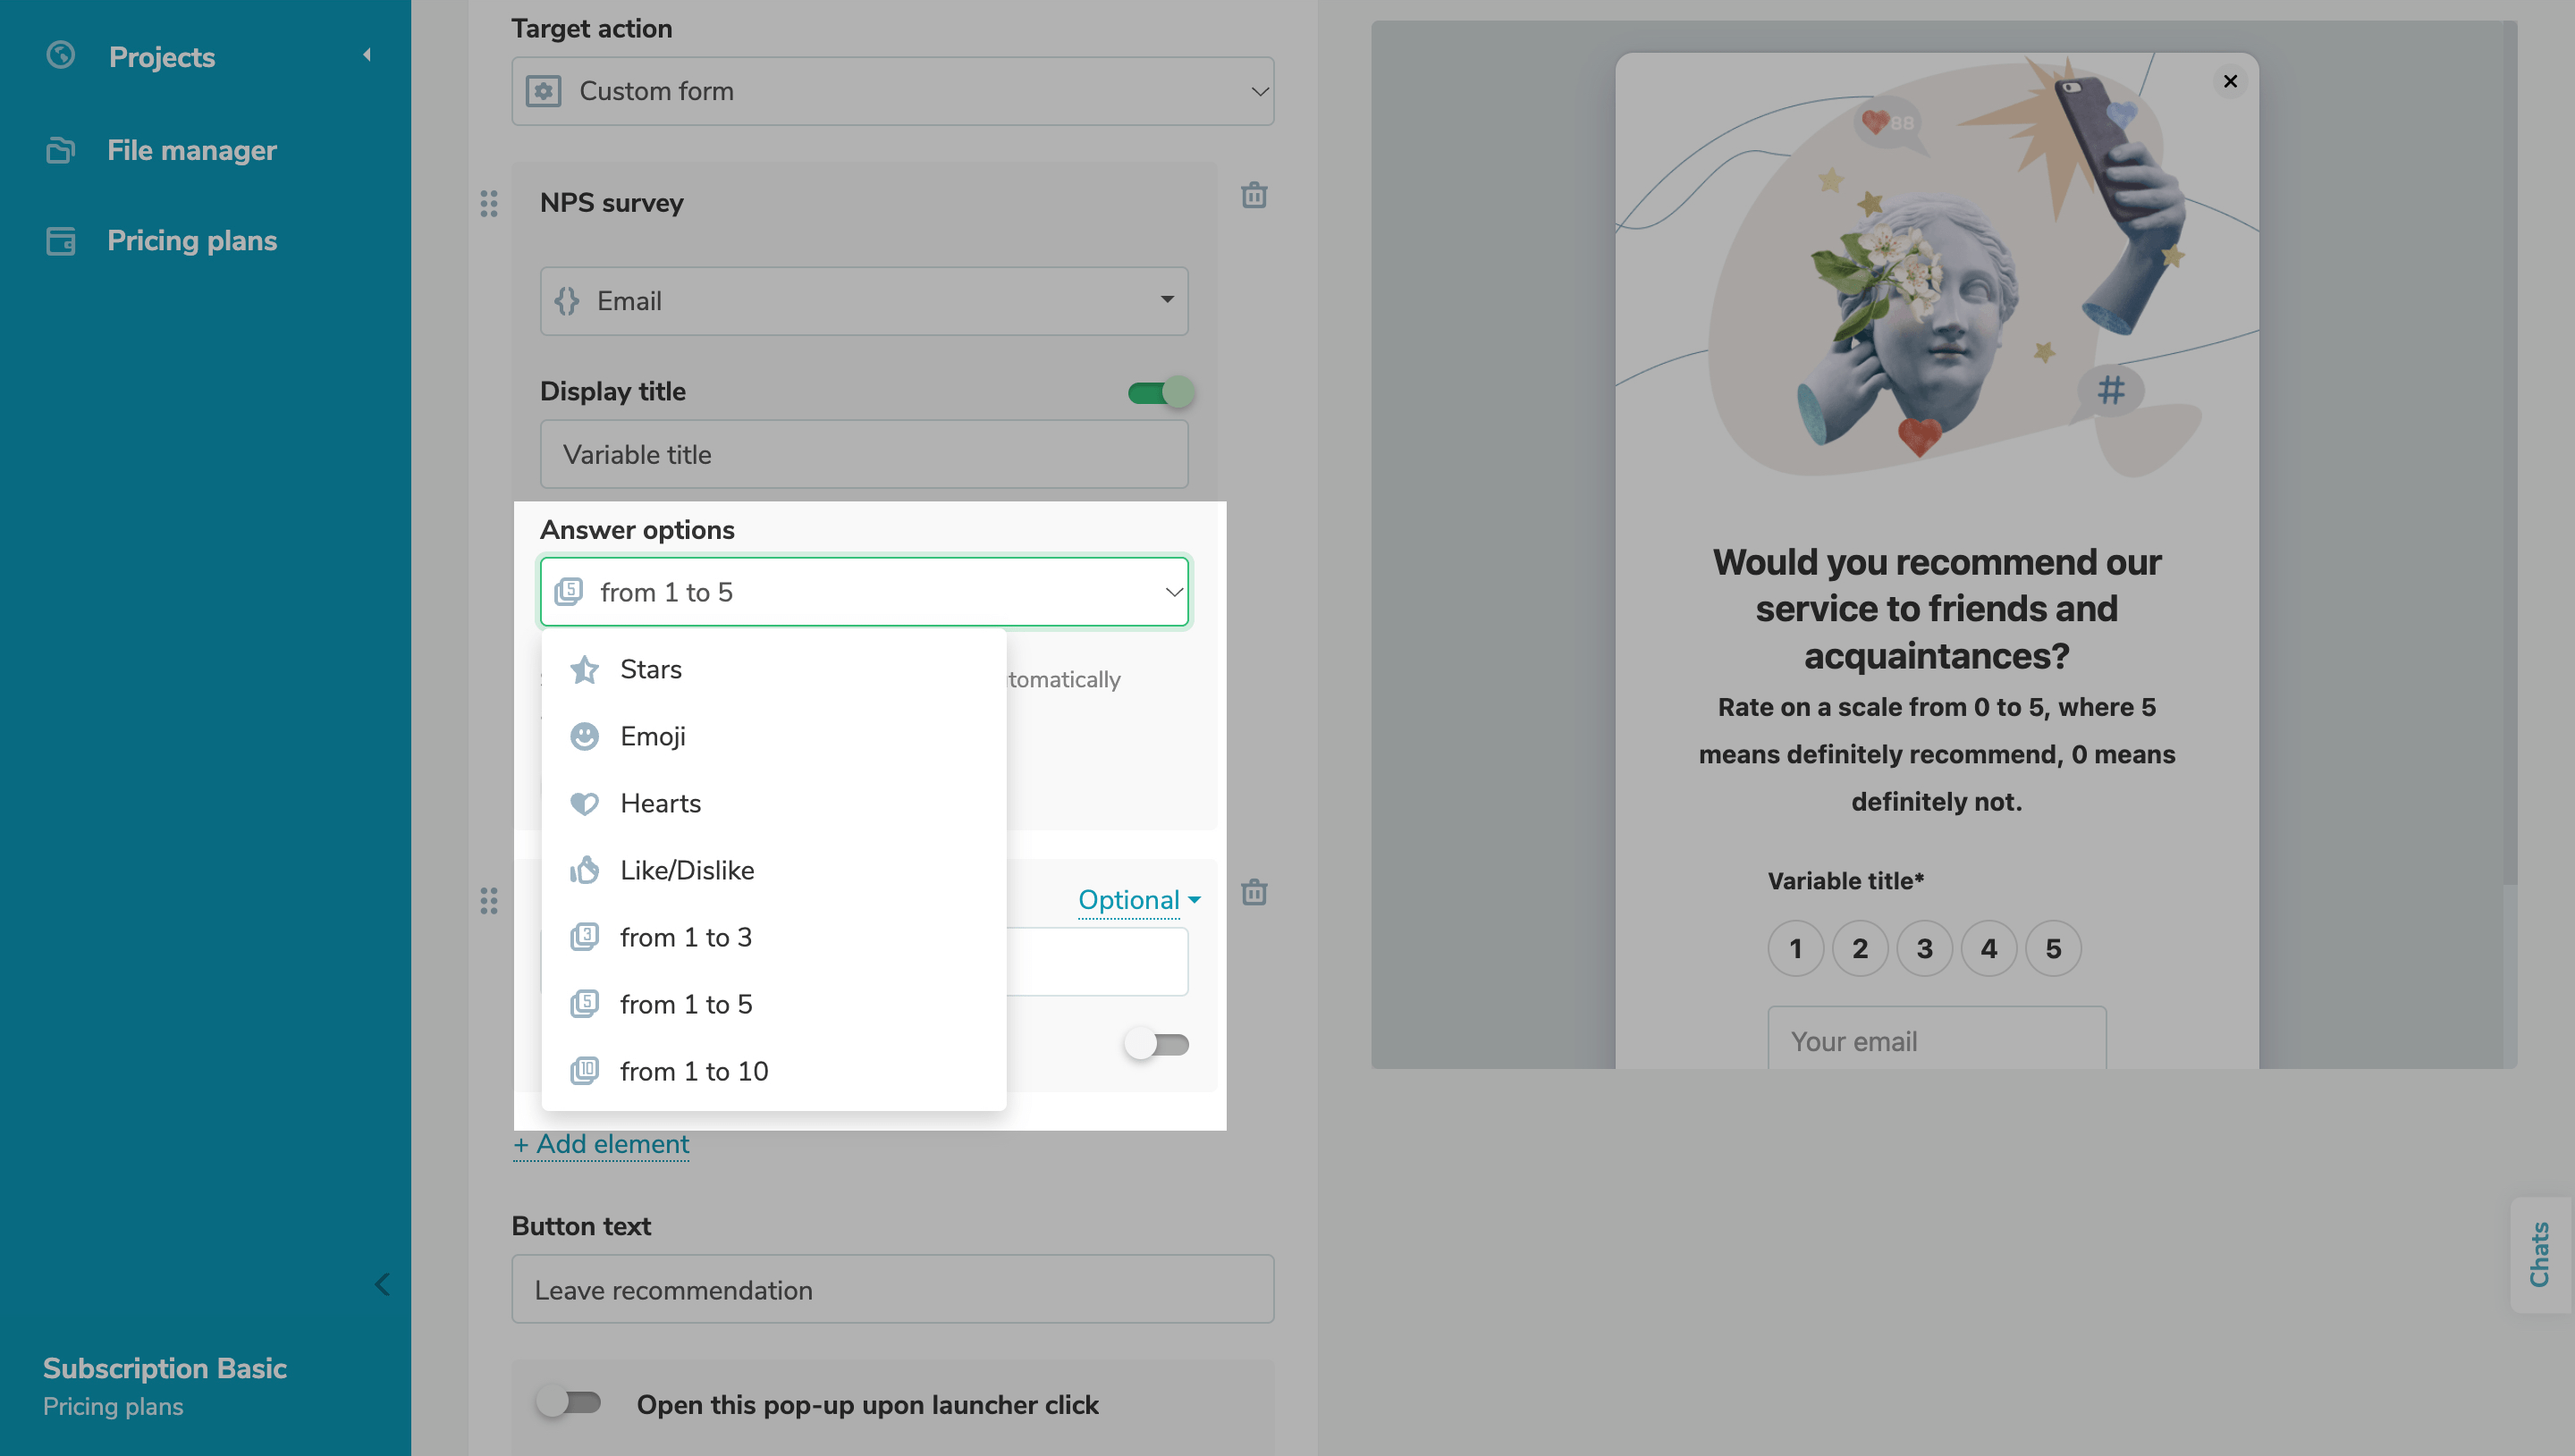
Choose Your Rating Options
Select your rating options from the drop-down menu:
- Stars;
- Emoji;
- Hearts;
- Like/Dislike;
- Numbers from 1 to 3;
- Numbers from 1 to 5;
- Numbers from 1 to 10.
If you select stars or hearts, your NPS form will contain 5 stars or hearts, and your survey results will be automatically added to the corresponding contact on the statistics page.
When adding emoji, specify their values.
If you have selected "Like/Dislike," choose the emoji that correspond to like or dislike, or use the default emoji (thumbs up and thumbs down).
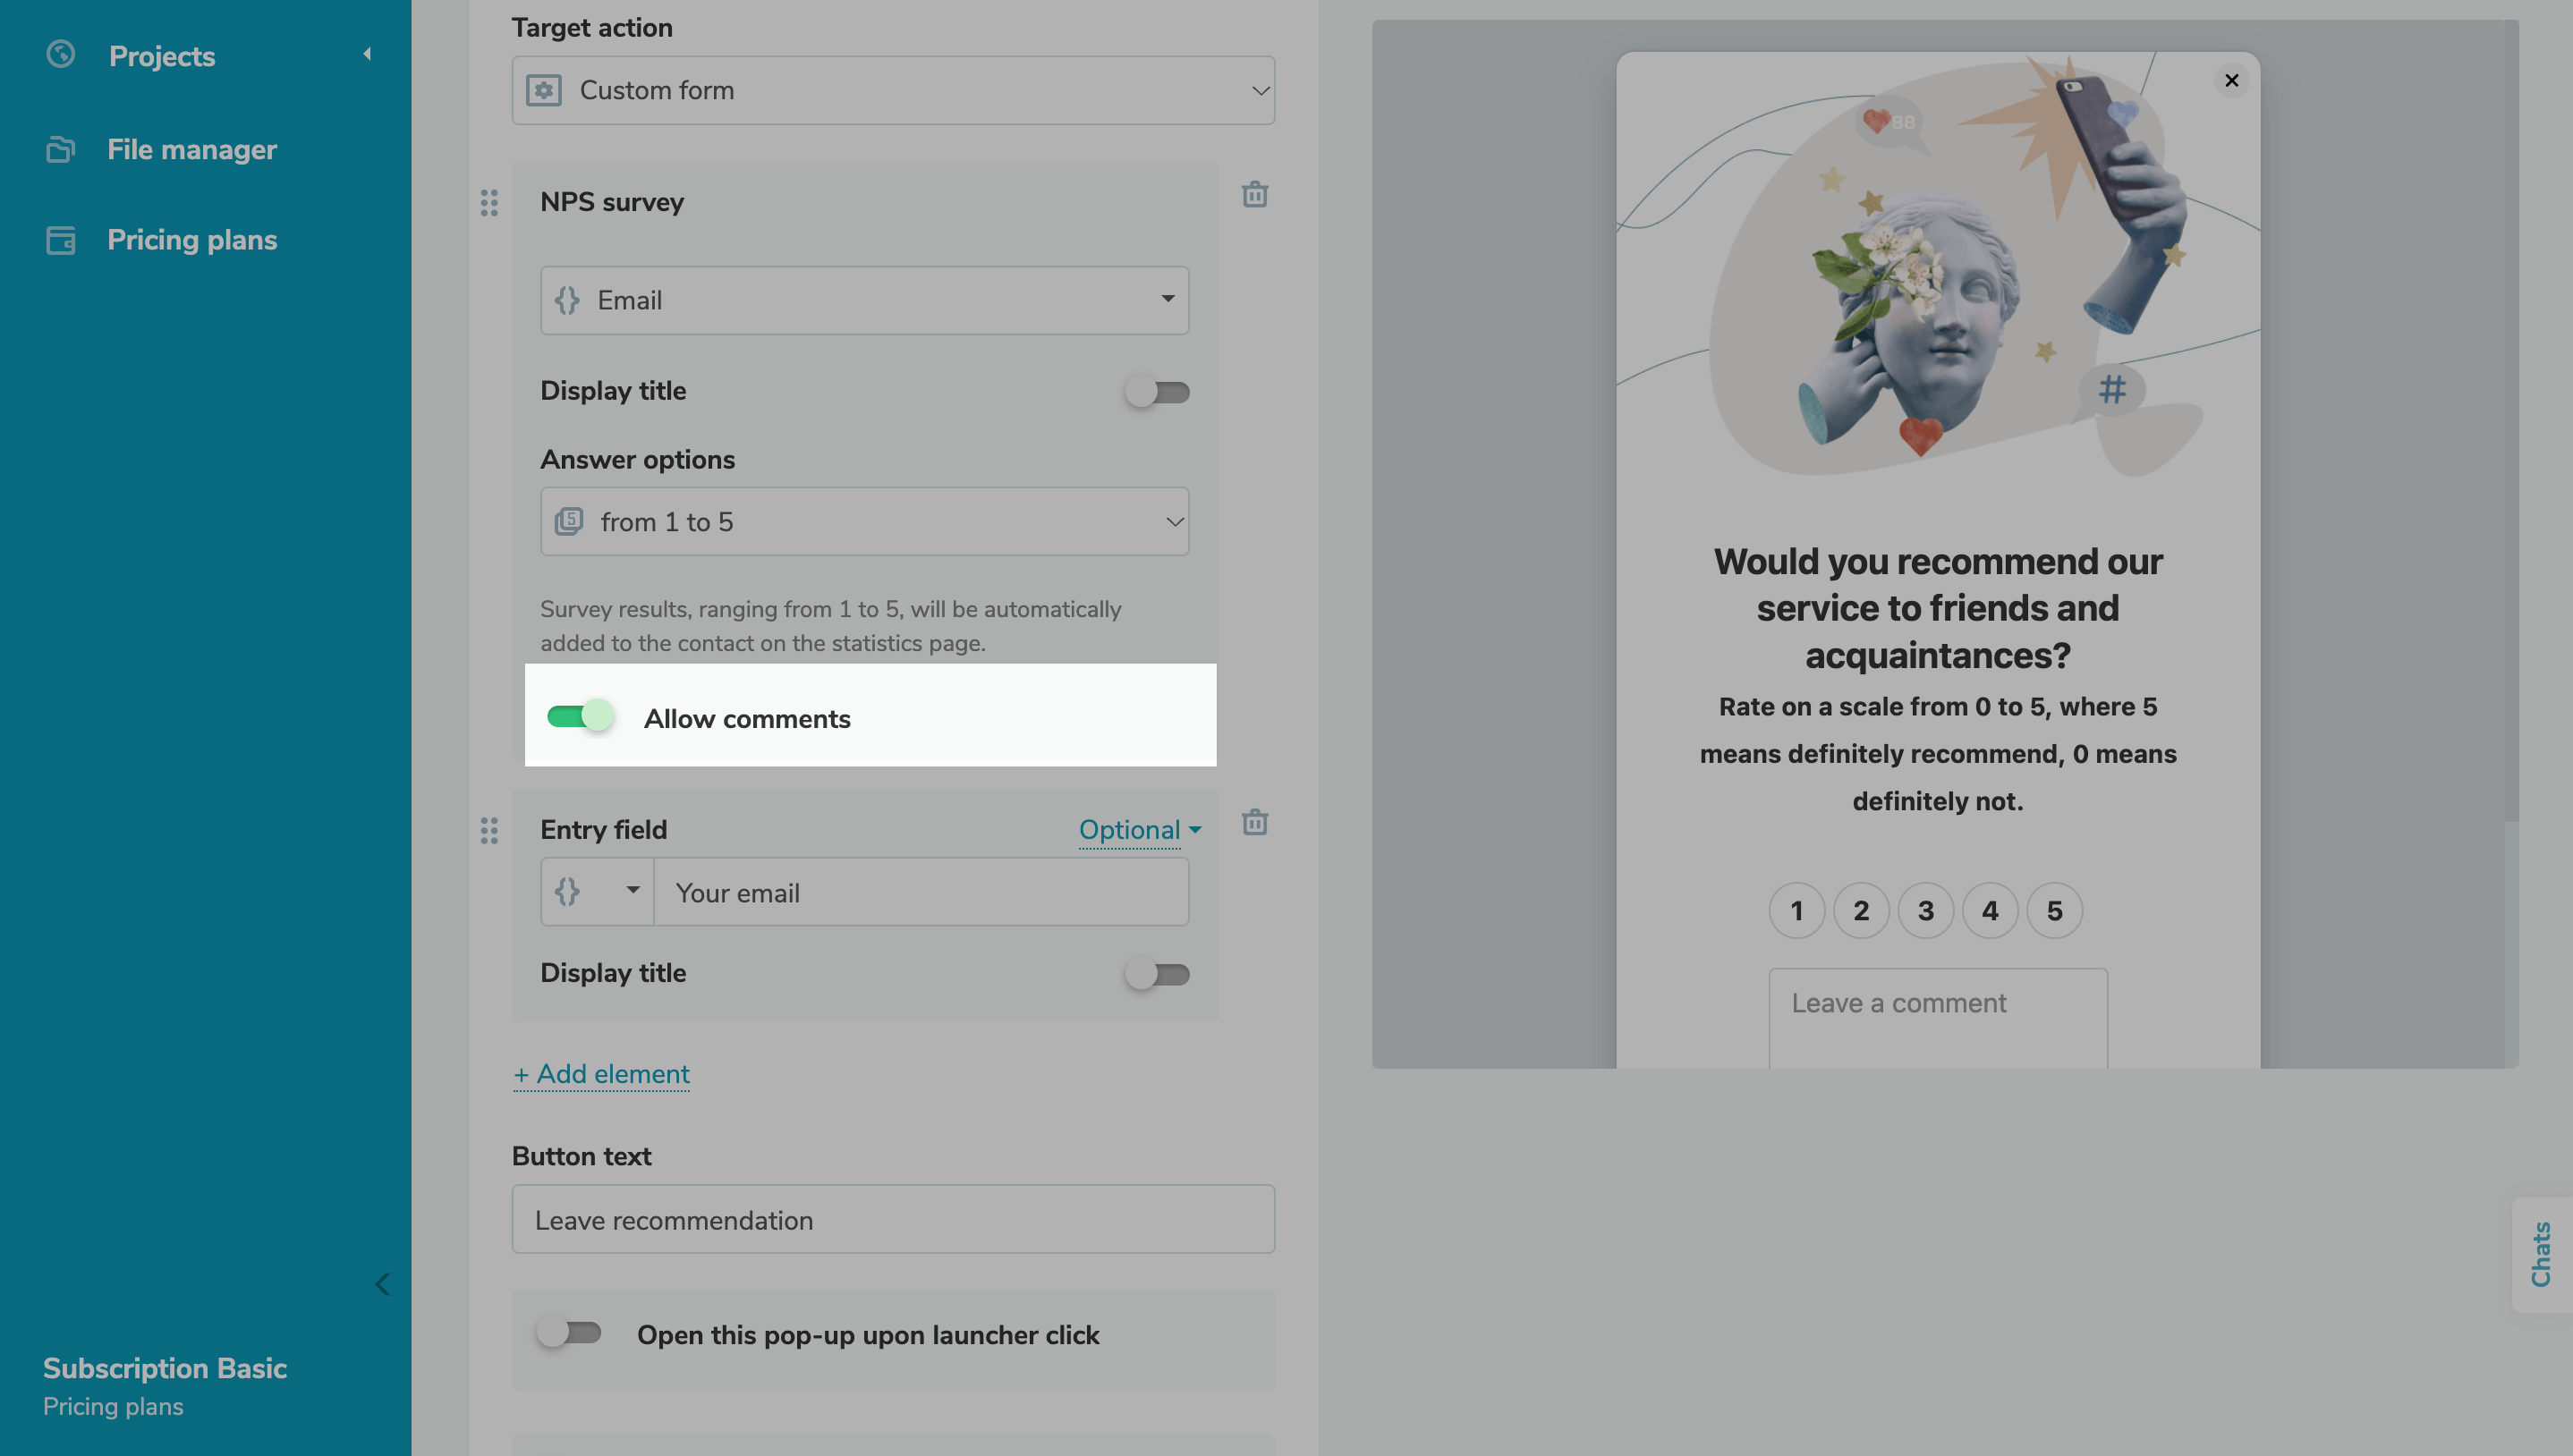
Enable the Comment Field
You can also add the "Leave a comment" field to save user comments. To do this, turn on the "Allow comments" toggle.
Add More Elements
Additionally, you can add other elements to collect more user data. To do this, click Add element, and select one of the following options:
- Input field;
- Checkbox;
- Multiselect;
- Dropdown;
- Radio buttons;
- Pop-up flow.
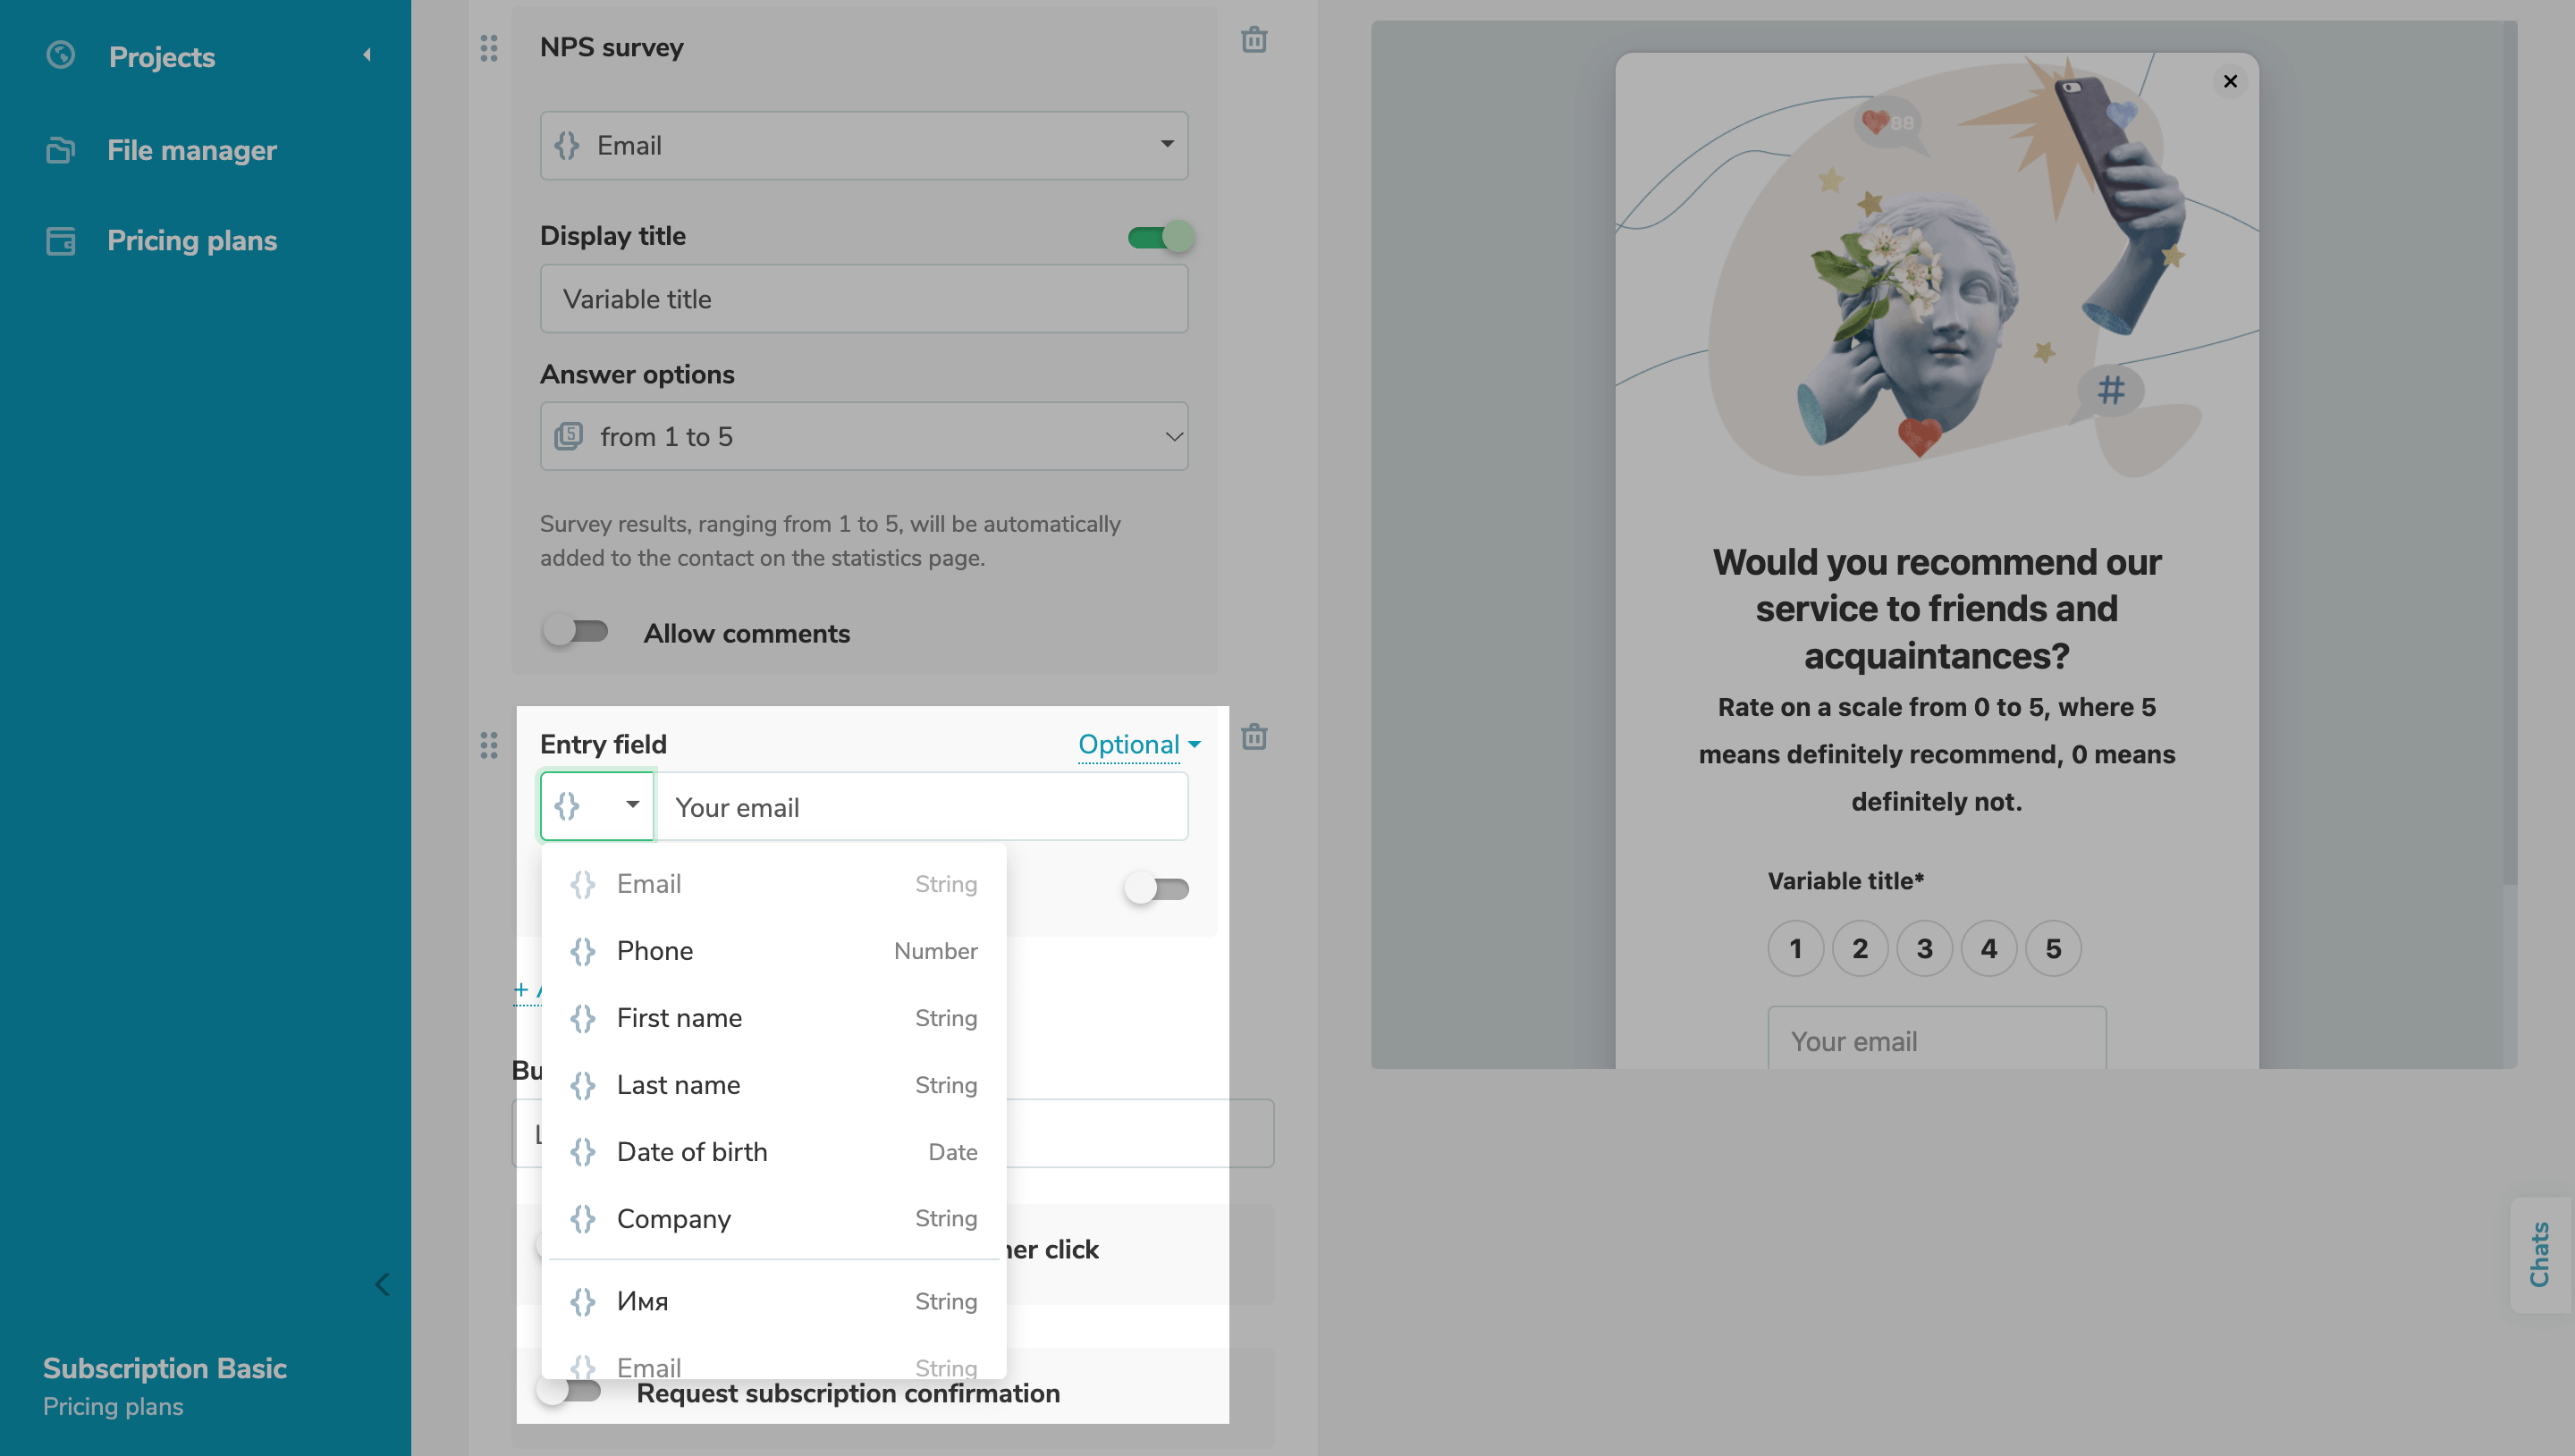
When adding an input field, you can choose preconfigured variables, including email address or phone number, or create your own variable.
You can make your field required or optional and add a title.
Configure Your Submit Button
You can also edit your survey button text.

Configure Your Display Conditions
Go to the "Display conditions" tab, and configure your pop-up display conditions.
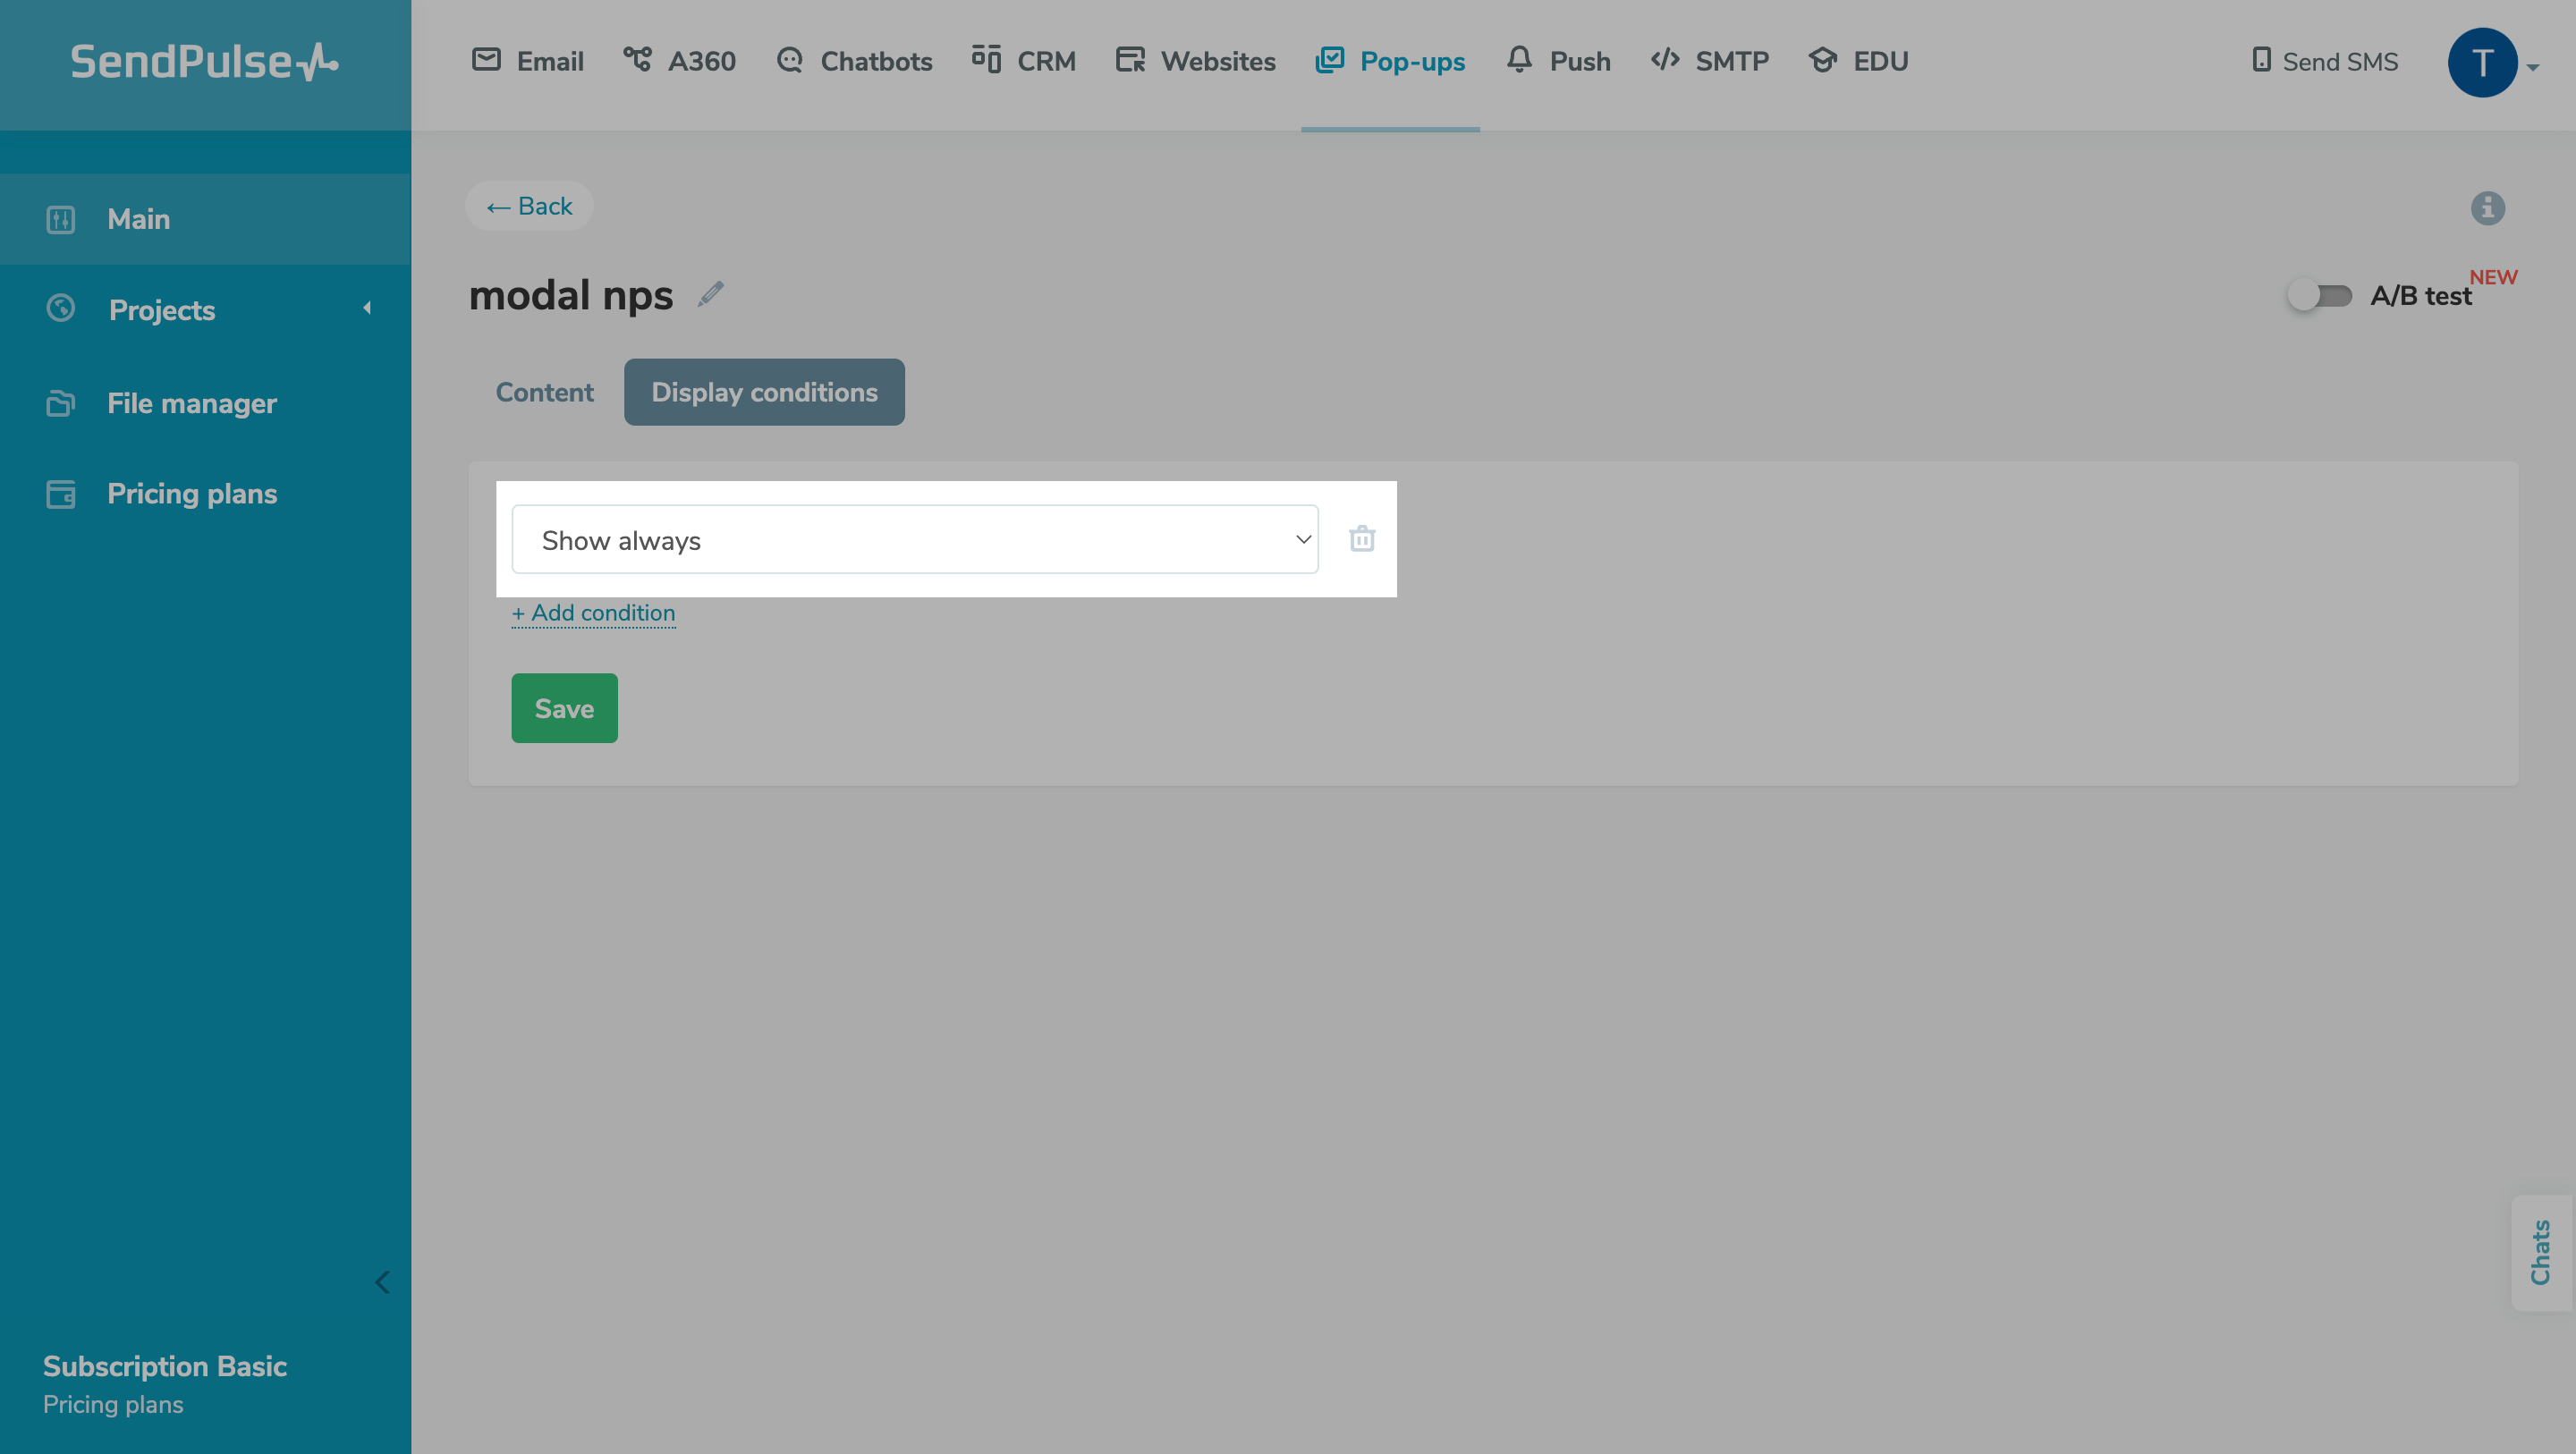
Click Save and close to publish the NPS form on your website.

View statistics
To view your NPS form statistics, open your project, and go to the "Analytics" tab.
Select the relevant NPS form from the menu.
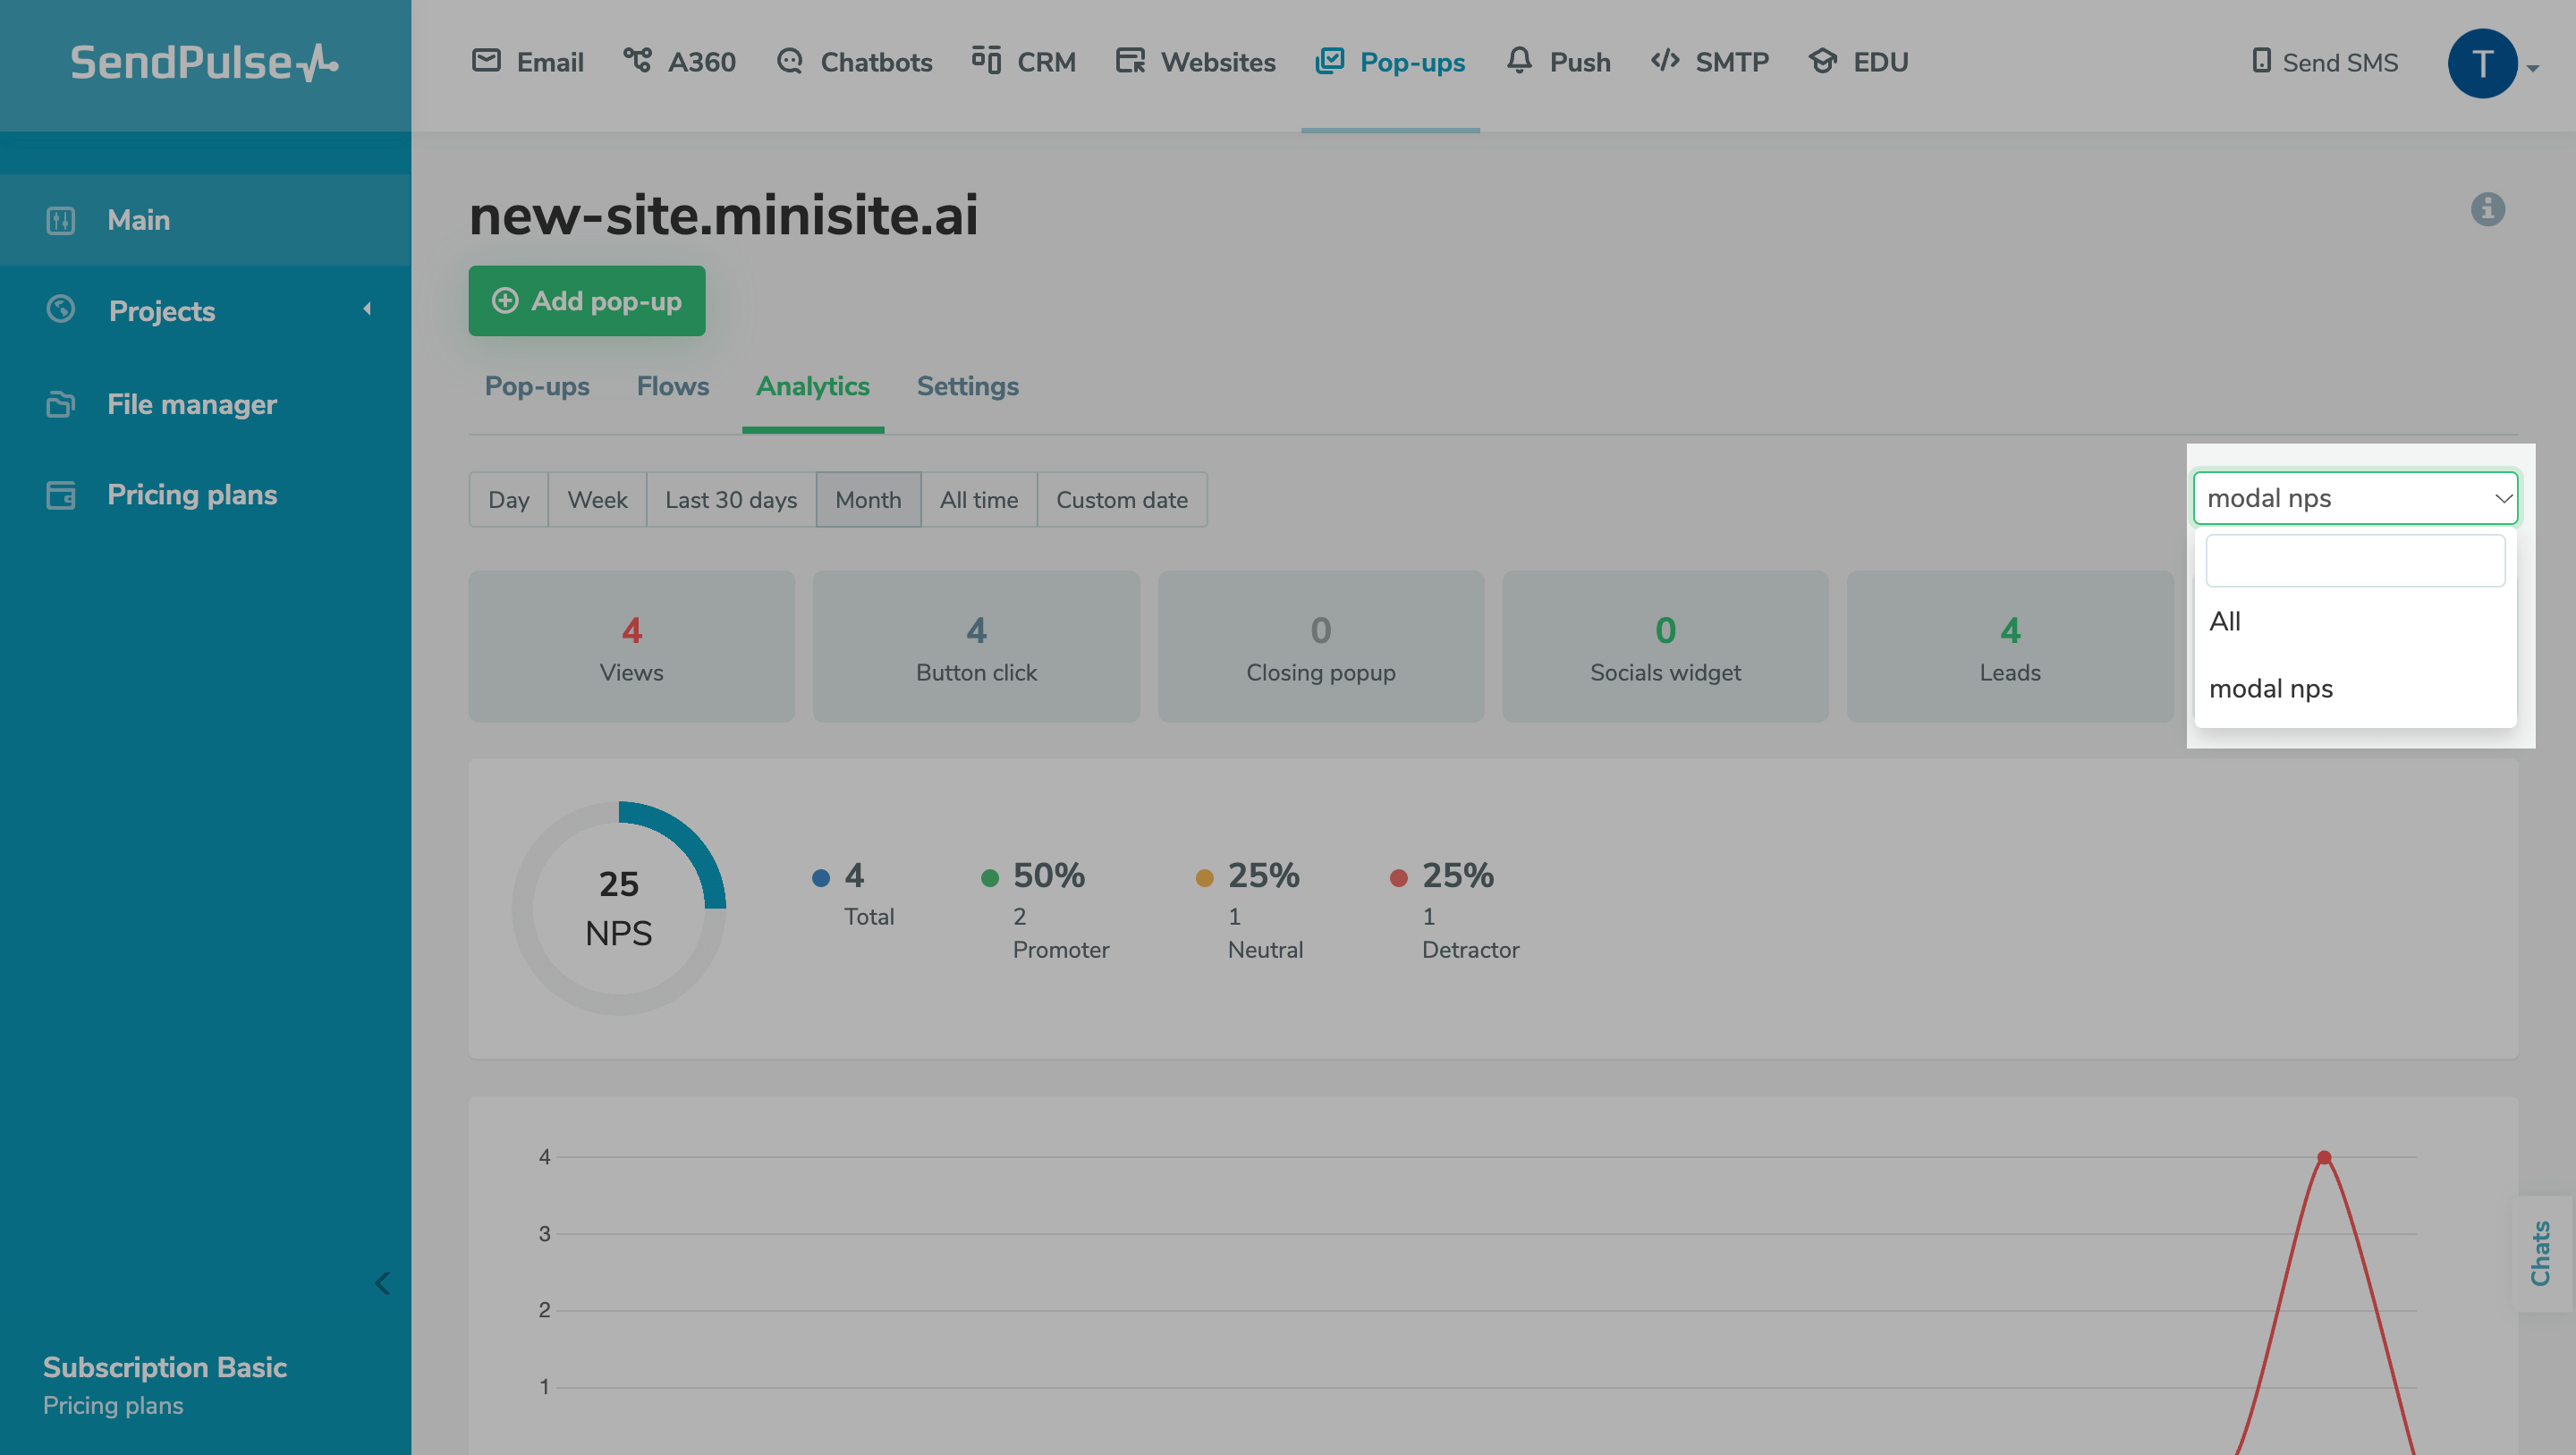
You can view the following metrics:
- NPS index;
- Number of people who submitted your form;
- Number and percentage of promoters;
- Number and percentage of neutrals;
- Number and percentage of detractors.

Your survey respondents will be classified into three groups.
| Detractor | Users who rate a product, service, company, or brand poorly. Their negative feedback may require more attention to improve customer satisfaction.
These users usually give a score from 0 to 6 (on a scale of 0 to 10). |
| Neutral | Users who do not express strong positive or negative emotions about a product or service.
These users usually give a score from 7 to 8 (on a scale of 0 to 10). |
| Promoter | Users who highly rate a product, service, company, or brand and can recommend it to their friends and colleagues.
These users usually give a score from 9 to 10 (on a scale of 0 to 10). |
NPS is calculated using the following formula:
NPS = (Number of promoters - number of detractors) / Number of respondents * 100%
The resulting NPS score is evaluated on a scale from -100% to 100%.
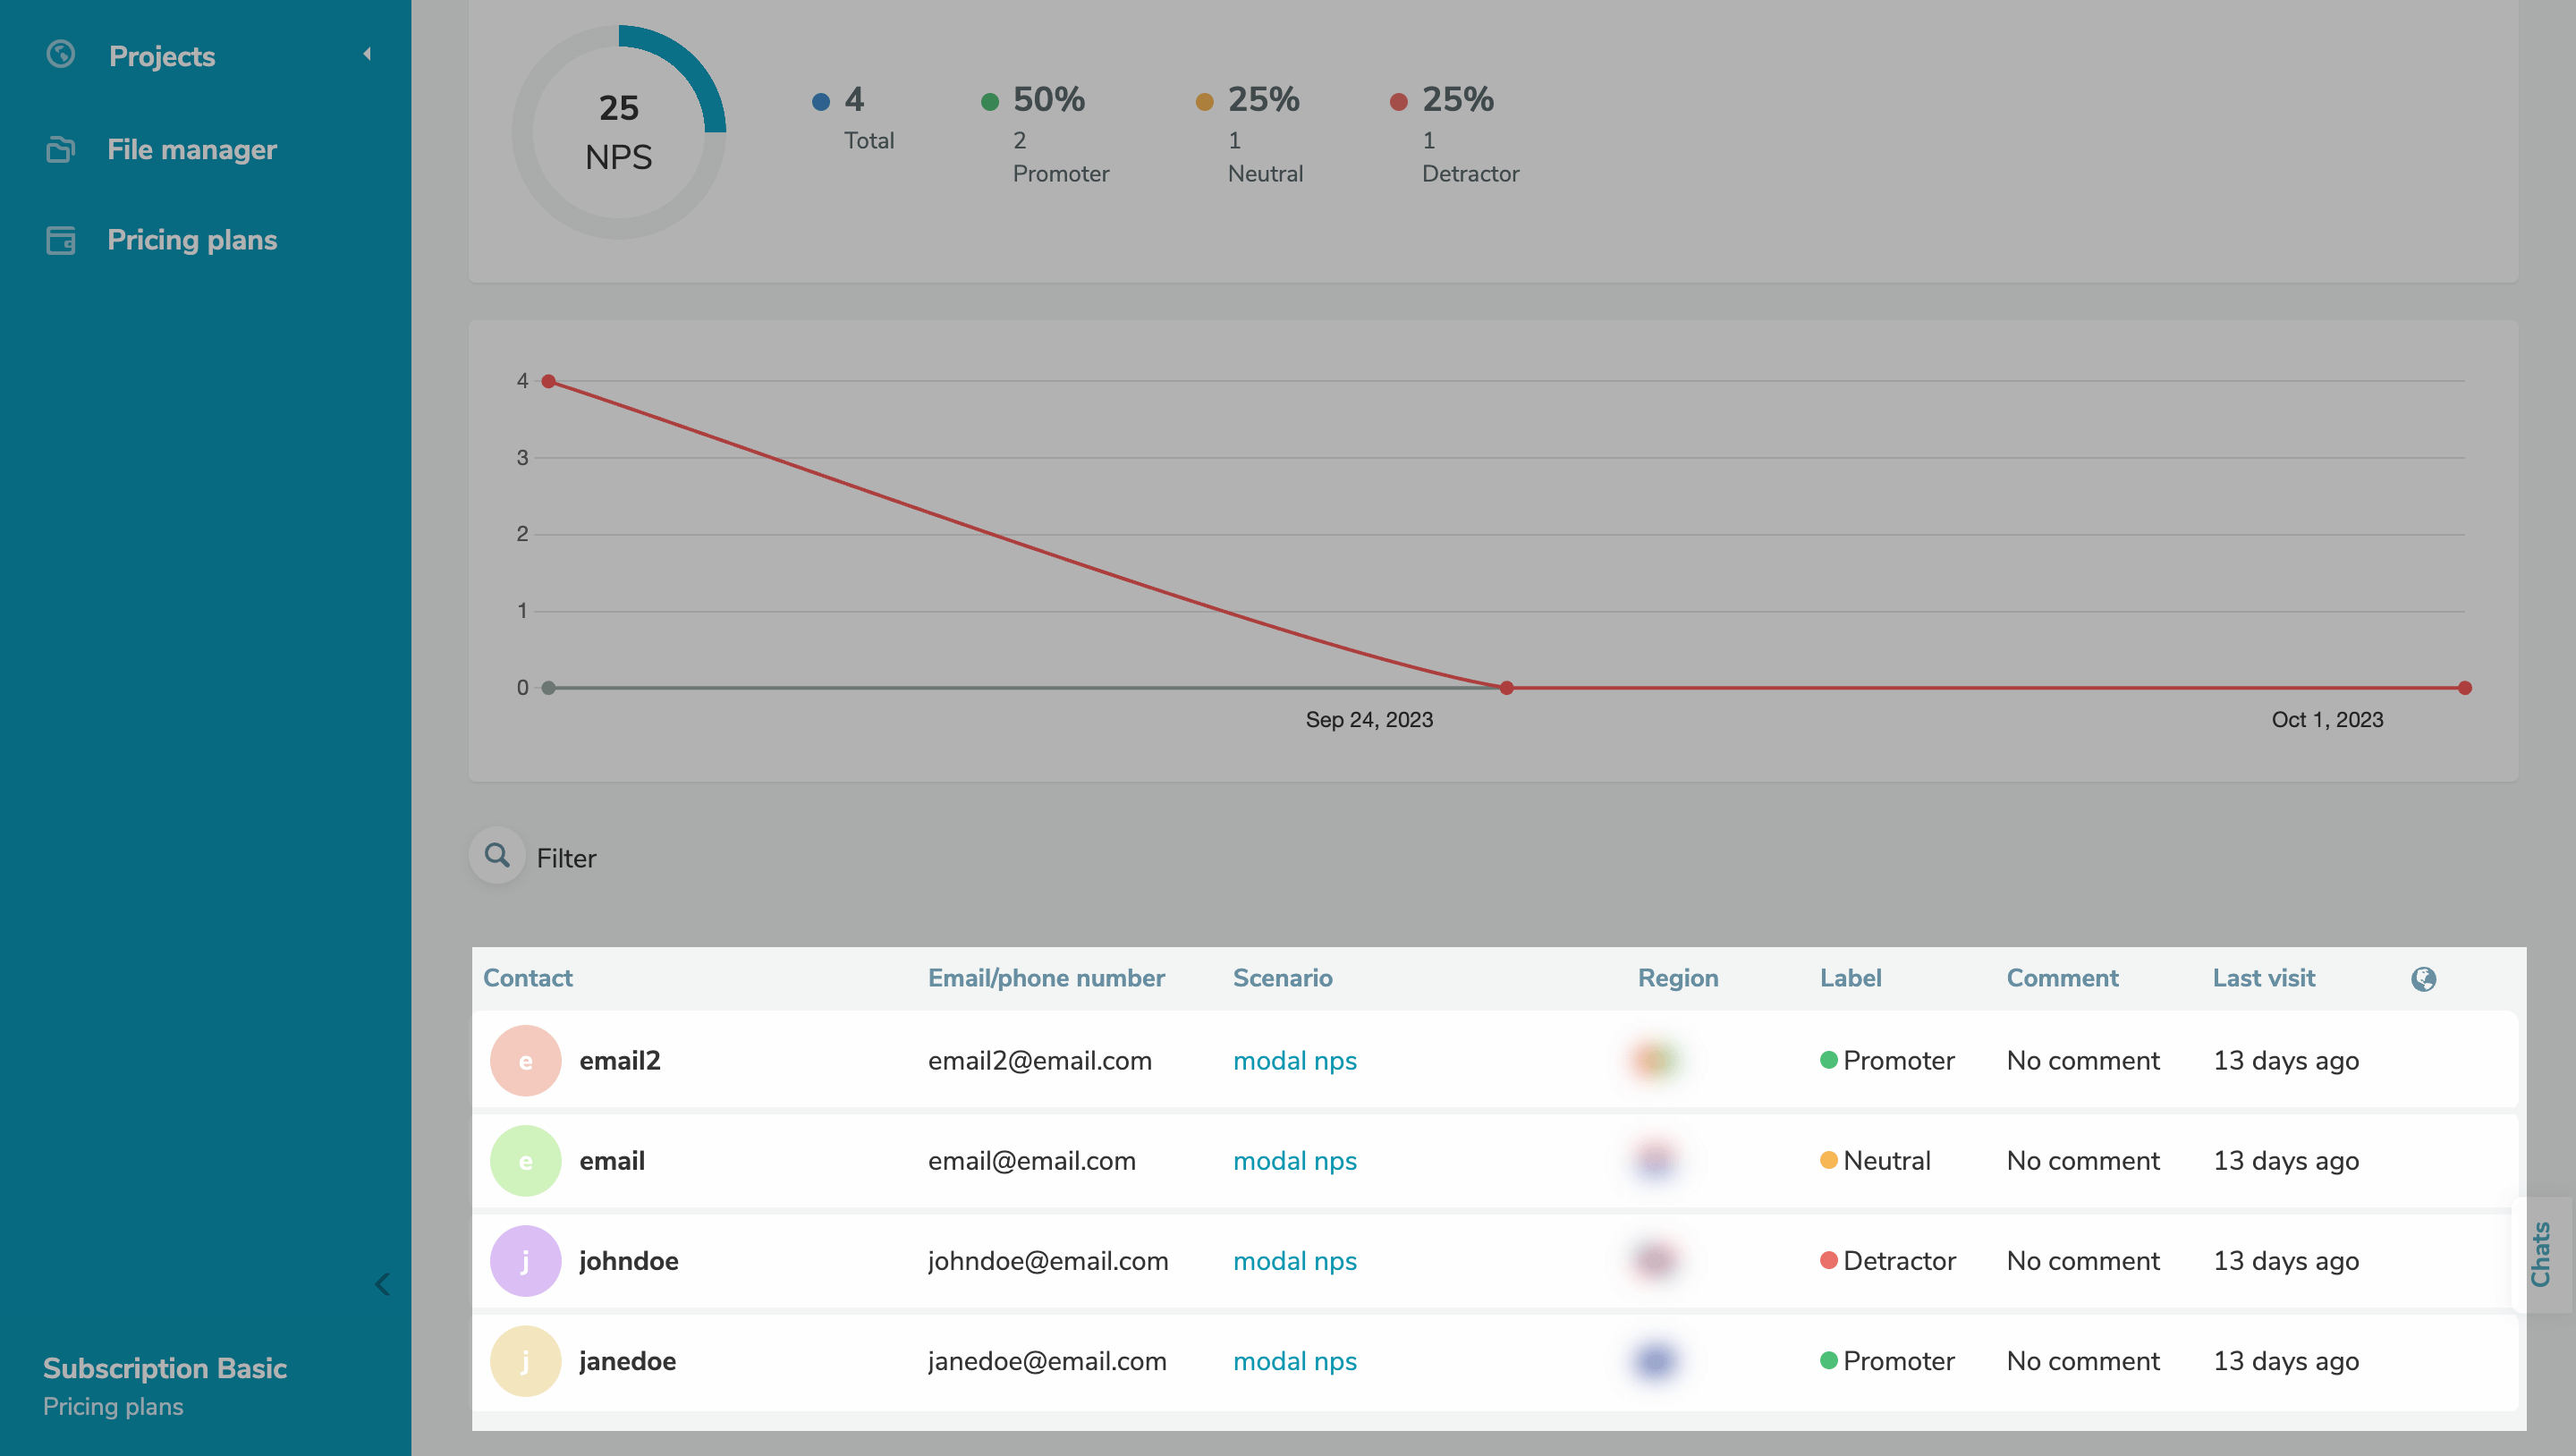
You can also view the data of contacts who rated you. To filter your contacts, select a label from the drop-down list.
At the bottom, you can view each user’s data, including their contact information, label, comment, and last visit time.
Last Updated: 05.10.2023
or